

Is everybody else enjoying fall as much as I am right now? We spent the weekend enjoying our family and friends soaking up the beautfful weather God has given us! This week we recieved some boo mix in the mail, and my kids totally loved it! (thanks Amber!) I had been wanting to make some for awhile but now I knew I had to send some to the kids in IN. To bag it I thought I had bought some little decorated clear bags at the store..until I realized they never made it home. Don't ya just hate that? So I figured I would just bag them in clear bags and put some ribbon on them, oh well. But when I went to get out the ribbon in my drawer...I saw an orange plastic table cloth and green paper......idea! I already had the items but to make these it's super cheap.  Here's what you need : Boo mix (or other treats), clear bags, ribbon, scissors, rubber bands, green tissue paper, and an orange table cloth or tissue paper.
 Here's the boo mix. My verison included: pumpkin marshmellows, caramel corn, pretzels, candy corn, peanuts, raisens, whoppers, and reese pieces. Really you could fill the bag with whatever you'd like! Favors, popcorn, pretzels, cotton candy....
 Step 1: Fill you bags to desired size. I made these pretty big so they could share.
 Step 2: Cut a square out of orange checking to make sure it will cover the entire snack bag. Mine was about 12 x 12 inches.
 Step 3: Gather up the orange around the snack bag.
 Step 4: Put a rubber band around the bag where it gathers.
 Step 5: Now add a second rubber band about an inch up. This will help make the stem stiff.
 Step 6: Cut a piece of green tissue paper. The measurements don't have to be exact. I cut mine on the prefolded lines of the tissue paper then I folded in a little off the top and bottom to make it smooth. About 8in long and 1.5in tall when folded.
 Step 7: Wrap the paper around the "stem". Keep wrapping until it's all used up. Several rotations will make it stiff. Put a piece of tape at the end. This will be the back of the pumpkin.
 Step 8: Now tie on 2-4 strings of green ribbon. Then curl.
 And now you have a pumpkin! These would be so fun for fall parties favors, class treats, etc!
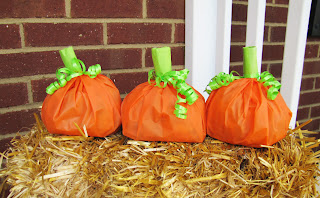 3 little pumpkins :)
 Here's what you need : Boo mix (or other treats), clear bags, ribbon, scissors, rubber bands, green tissue paper, and an orange table cloth or tissue paper.
 Here's the boo mix. My verison included: pumpkin marshmellows, caramel corn, pretzels, candy corn, peanuts, raisens, whoppers, and reese pieces. Really you could fill the bag with whatever you'd like! Favors, popcorn, pretzels, cotton candy....
 Step 1: Fill you bags to desired size. I made these pretty big so they could share.
 Step 2: Cut a square out of orange checking to make sure it will cover the entire snack bag. Mine was about 12 x 12 inches.
 Step 3: Gather up the orange around the snack bag.
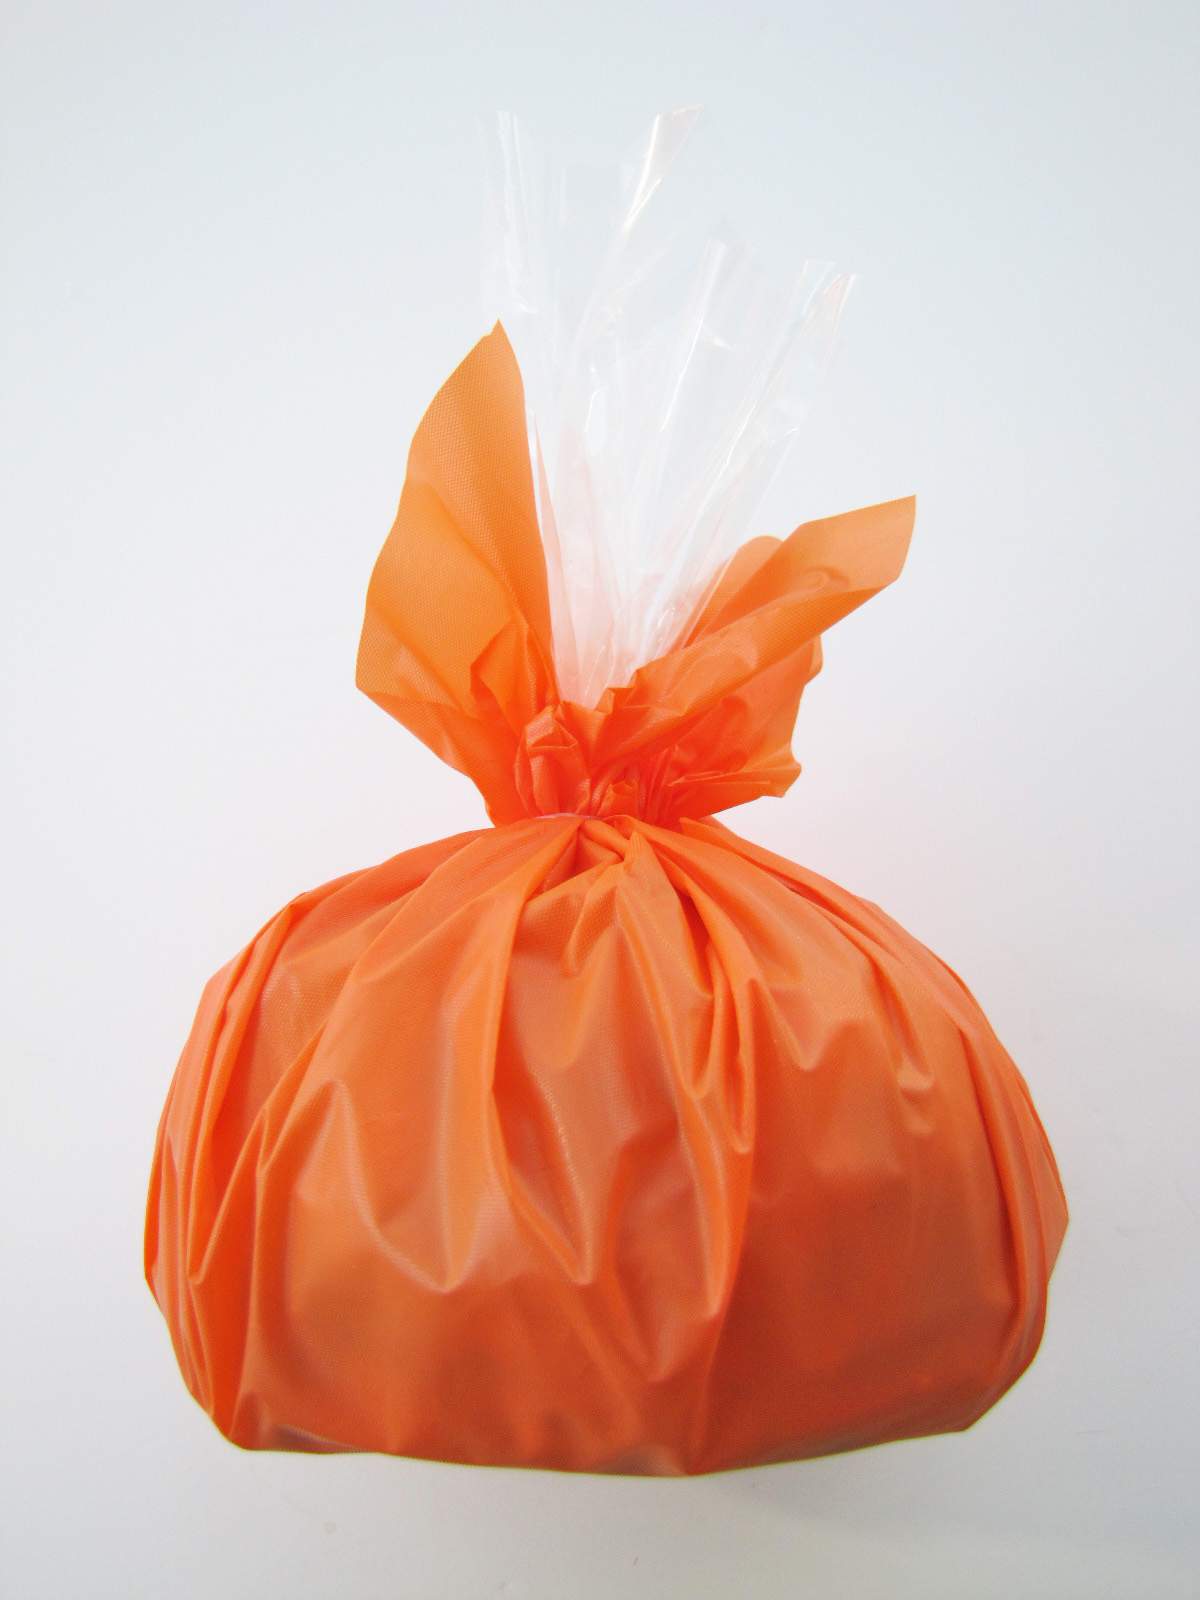 Step 4: Put a rubber band around the bag where it gathers.
 Step 5: Now add a second rubber band about an inch up. This will help make the stem stiff.
 Step 6: Cut a piece of green tissue paper. The measurements don't have to be exact. I cut mine on the prefolded lines of the tissue paper then I folded in a little off the top and bottom to make it smooth. About 8in long and 1.5in tall when folded.
 Step 7: Wrap the paper around the "stem". Keep wrapping until it's all used up. Several rotations will make it stiff. Put a piece of tape at the end. This will be the back of the pumpkin.
 Step 8: Now tie on 2-4 strings of green ribbon. Then curl.
 And now you have a pumpkin! These would be so fun for fall parties favors, class treats, etc!
 3 little pumpkins :)


 Once again gather all your bow making supplies! For this bow I will make a 3 inch boutique bow with spikes. I am using a 7/8 grosgain ribbon and a 5/8 grosgain for the center. Here we go!


 Step 3: Turn the entire bow over and then fold the ribbon back again.
 Step 4: Turn the entire ribbon over again and fold the ribbon now forward.Basicly your just wrapping the ribbon around twice. For the sake of explaining I took a photo of each step, but it's really easy and once you do it a time or two you will be able to do it quickly.
 It should look like this with two loops on each side.
 Step 5: Cute the ribbon and then put a pin through the middle.
 Step 6: Check to see if you've got the pin in the middle.
 Step 7: Pull the top right inside loop out.
 Step 8: Pull the bottom left inside ribbon out, forming an X. This is the tricky part! You have to work a little bit on getting the bow to to shape. Keep pulling the tops out keeping your fingers in the center and trying to keep the back in a straight line. It takes a few practices!
 Step 9: Grab your needle and begin to weave the needle through the bow.
 It should look like this.
 Step 10: Now scrunch your bow together on the needle.
 Step 10: Push the needle through, wrap the thread around tight, and then tie off.
 Step 11: Cut three strips of 3in ribbon.
 Step 12: Cut them in a V cut and heat seal each end. Just move the ribbon close to the flame, do not put it directly into the flame!


 I can't really photograph this process, but it should look like this with no glue on the top.
 Here's an example. Grandma made little "boo" shirts for the girls and I really wanted to make a bow with matching googly eyes. So I glued them on tiny black bows. Then I found a big bow in their stash to cordinate with their shirts.
 I just sliped the clip into the top of the bigger bow. Ta-da!
 For now it will match this outfit....and later another.
 Here's three interchangable bows. These can be worn each on it's own...or mixed together.
 Like this...
 Or like this...
 And sometimes I add in little store bought pieces like this curly Q from Gymbo.


