Friday, November 25, 2011

Happy Thanksgiving!

Happy Thanksgiving!
 I know it's a day late, we had a full day yesterday! Lots of great people and yummy food. I had a cute little plan of making a cake that looked like a turkey for Thanksgiving. But after three weeks of colds, strep, and then the flu just before Thanksgiving it just didn't happen! There's always next year. Awhile back I saw some mash potateo cupcakes I used those as inspiration to create these Thanksgiving meal cupcakes.   
 I made them for a couple dinners and they were a big hit at both! Super fun to make and not that hard.
 Fondant green bean casserole with pecans as the fried onion toppings.
 Vanillia buttercream mash potateos with caramel gravey and fondant butter.
 Jelly belly corn with sprinkle pepper and fondant butter.
 I used fondant to make the crust and white butter cream for the topping.
I hope your Thanksgiving was full of family and fun!

Thursday, November 10, 2011

How to make {baby doll wipes}

                        
 This "little" project started out when I realized the twins were trying to change their babies diapers using their own real diapers. Ah ha! Finally I figured out somehing I could make for the twins. How did I not think of this before? So after a few hours of trial and error I came up with these little diapers? I liked them so much I decided I would make each of the little girls some for Christmas.

 These were so easy, and really fun I ended up making a few...well more like 20! There are 6 girls in our family. I gave Cadence the first 4 to try out. She spent the whole morning changing each of her babies asking if they each felt better. I saw her using a pretend wipe to clean the baby, I had to make her some wipes. And while I'm a it we're gonna need a diaper bag, and maybe even a changing pad. :)
                       

                          Figuring out the wipes case was pretty easy! Here's how to do it.
 
 Supplies: Ruler, fabric, white felt, pins, thread, paper, marker, scissors, and of course a sewing machine.
Step 1: Cut your paper into an 8in X 8in square and a 6in X 3in square. These will be your patterns.
 Step 2: Use your small pattern to trace on to the felt. Then cut out your wipes
 Step 3: Use the large pattern to trace onto the back side of your fabric. Then lay it over your felt. I should note that you don't have to use the felt. You could just sew up the sides, but the felt gives it a much more sturdy structure and hold the wipes case shape well.
 Step 4: Pin the felt and fabric together.

 Step 5: Sew along just two sides of the square, on opposite sides. Just sew along the lines you traced.
Step 6: Trim your fabric close to the seam, then along the lines which you didn't cut.
 Step 7: Turn right side out then iron flat.
 Step 8: Using the same two edges sew a top stitch. Your other two edges should still be raw.
 Step 9: Fold you fabric in half to make a crease. Then fold each side in to that middle line and pin.
 It should look like this.
 Step 10: Sew across the ends, then trim the corners at a slant. Be careful not to cut what you've sewn!
 Turn inside out, Then stuff with your "wipes" All done!
 My daughter was over the moon when she saw these.
 Yep, were going to need matching diaper bags for sure ;)

 Wanna learn how to make these? I'll be back tomorrow with a tutorial to make these cute little things.


Tuesday, November 8, 2011

So for awhile now I've been hunting for fabric to make the last of three cuddly fleece blankets. I wasn't quiet sure what I wanted for Miley until I found it! Remember the Mr. Men and Little Miss books for years ago? They are these simple little round creatures with attitudes of their own. When I first found this fabric at Joannes I knew I had to use it for Miley's blanket. Miley is a super sweet little girl, she will snuggle and giggle for hours....but....the moment she is no happy about something she will let you know. She has little tolerance and has mastered fit throwing by 18months.

 I was bummed to see the fleece was 14.99 a yard meaning with all materials the blanket would cost me just over $30.00 :(. So I held out awhile and brought back a 25% off coupon. I was so glad I did because just as I walked in a lady was placing it in the clearance bin for $7.00 and clearance fabric was an extra 50% off for veterans day, and then I had the coupon! Score! So I ended up making the entire fleece blanket for less then $10.00. Sorry about the crappy photos...cranky kids and horrible lighting really cramped my style today :)
                                    
 Miley can change from little miss sunshine to little miss naughty in 1 second flat.

 I chose a pretty yellow for the back, better shown in the photo below.

And in case you missed it here's how to make these super easy fleece blankets!

Monday, November 7, 2011

How to make {Felt Pop Tarts}

I know it's been a bit since I posted, I haven't had much time to blog this week. We started off with a busy week and then the sickies came to visit. Thankfully not too bad but enough to keep us snuggled up on the couch soothing cranky babies. While the little ones nap I'm sharing a little project I did last week, felt poptarts! My kids love pop tarts so I wanted to make some for them to pretend with. Another easy project to toss in the Christmas pile:) And here's how..
 Supplies: Felt, thread, ruler, a small amount of stuffing, thin needle, beads, scissors, pins. I also used my sewing machine but they can be hand stitched.
Step 1: Cut the cream felt in 4.75in X 3.5in rectangles. And my icing color in 4.25in X 2.50in rectangles. You will need 2 cream  rectangles for every 1 icing you cut. I was able to fit 4 rectangles per felt sheet. If you planning on making several I would make paper patterns to trace.
 Step 2: Pin your icing color onto one cream colored felt.
 Step 3: Either hand or machine stitch around the icing color.
 Step 4: Hand sew beads on to make sprinkles. If you would rather not use bead you can use long embroidery thread stitches.
Step 5: Layer another cream piece underneath, pin and then sew around 3 sides outside of the icing in a cream color leaving the top open. (it's hard to see in the above photo because I stiched right outside the pink)
 Step 6: Insert a small amount of stuff to give it some depths. I literatly used just a pinch and spread it through the poptart.
Step 7: Sew the top closed. Then trim the felt around the icing just a bit, rounding the corners.
 There is is! A yummy pastry to play with! These will be stocking stuffers for my girls.

Wednesday, November 2, 2011

Candyland Party!

 Hello again. We're still stuck in the hotel (ahh!) which makes 5 weeks without a house. I would try to pretend we're on a great Vacation but the traditional army lodging, nothing to do, lack of husband most days, constant snow, and nasty below 0 tempatures outside kind of ruins that for me! On the flip side...we've been offered a home for next week which is much sooner the originally expected! Praise the Lord! So of course I have nothing new to offer, but I do have something I've never posted! Last year we threw my daughter a pretty cool Candyland themed party. But soon after was Christmas and lots of events and the dozens of pictures kinda ended up stuck on my hardrive and never shared here :) Whoops?! So 13 months and several parties later....here is her candy land inspired party!!

 I should warn you I am about to go in picture overload! We had so many RSVPs to this party we ended up having 22 kids there! YIKES! I figured so many people we were coming we should make it good. So..I went a little overboard BUT in my defense the hubby was gone for training and I had nothing but time! The clip art I used came from J.W. Illustraitons. She has since came out with some really cool Candyland images that would have made this party so much easier! I made almost all the treats, cake, ect so I don't have too much vendor info for ya!

Since I don't currently have acess to my older files I will add the invitaion later!

The food choices were kind of obvious...CANDY! I wanted create a layout where the kids would just get to go crazy for one day! No one cookie after dinner here :)
 (I sent a warning to the parents hehe)
The ONE request for her pary Cadence has was a 3 layer cake. One for each of her birthdays lol. This was my first 3 layer cake but I was happy with the out come.

I was only a few months into teach myself cake decorating so this was an accomplishment for me!
I made little paper dishes to create the look of the squares on the gameboard.

I selected a food to represent each "stop" on the board. Peppermint forest, licorice, ect. Yes I am THAT much off a detail freak!
My FAVORITE part! Gummy bear juicie boxes! These honesy containers were a trick to hunt down, but worth it in every way! Loved these! The big juice containers are animal cracker tubs from Target!

We served fresh fruits, pretzels, and subs so nobody died from a sugar high. Of course I did add a little "theme" to the subs..couldn't resist.
Decorations: Where to begin...they were everywhere! Guest were greated at the door with a Candyland banner and a gumdrop wreath.We wrapped out white porch pillars in red to look like candy canes. I used the graphics from J.W Illustraitons to create lots of different posters then I basicly bought lots of solid colored paper, tissue paper, balloons and started cutting squares! I posted them around the room to make it look like the game. It was a really easy theme because everything was just simple solid colors found just about anywhere.
First the kids picked their game pieces, which were cookies I made to look like the game pieces.
The "game" began right inside the door at the start,  gingerbread tree!


The game ended at the Candy Castle! Which was a bounce house set up in our garage..not sure where that picture went.


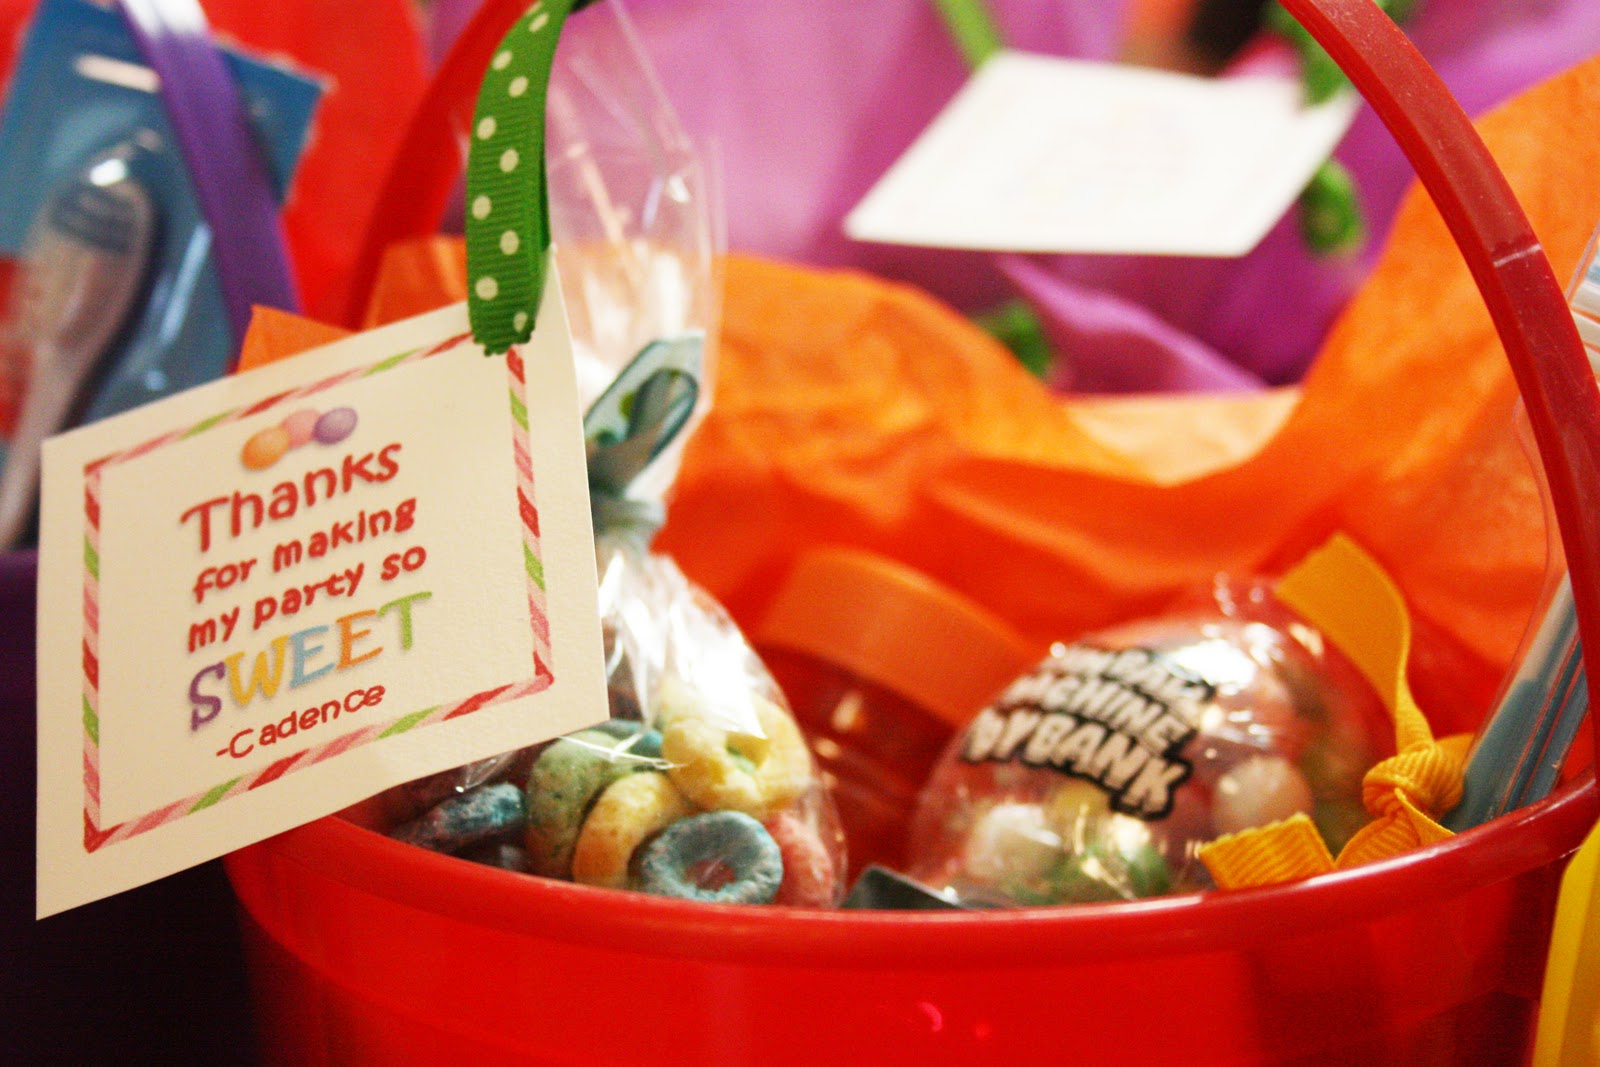
The garland here I made with tissue paper scraps and bottle caps. The party buckets came form Party city $1.00 each.
Each kid went home with several different favors, and of course...a toothbrush. I also made the baby attendees "lollipops" out of paper spoons and wrapped wash cloths.
Centerpieces easy buckets with lollipps and 3 cutouts I made.
Activities: We had lots of thing for the kids to do! I bought foam gingerbreads from Micheals and we had a gingerbread hunt (think easter eggs). I had two tables set up for the kids one with candy string and fruit loops to make necklaces, and another with coloring sheets.
Over the weeks coming up to the party I found a bunch of candy themed party treats as game prizes. I also filled a dollar store gumball machine as a guessing game.

And the kids favorite part of course..the candy buffet! When the kids were done they were able to come up and fill their bag with as much take home candy ad they wanted! (I got a little TOO much here!)
Here's my birthday girl ready to party! Can't belive this was already a year ago!
I hope this post fills you with inspiration for your next creative party!
Happy creating!

...now onto Valentines day...