Wednesday, October 10, 2012

Monster Eyeball Cookies


Oh I'm sorry, were my cookies staring at you? First the cupcakes and now the cookies....lately my desserts seem to have a staring problem. :)

I wanted to share with you some really easy and fun monster eye cookies I made this week. These are so easy, changeable, and pretty darn yummy. Today I'm just sharing them plain and simple but there are so many different uses for these. With a little creativity you could really have some fun. They could be easily converted into cookies pops, top cupcakes, Oreo pops, pudding toppers, and how stinking cute would these be all over a cake! What would you put them on? I am really digging the cake idea.


These little guys are actually made of vanilla wafers, dressed up for Halloween. I covered them in chocolate and added a candy melt plus sprinkle in the center. When I set out to make these I tried several different ways to get the black in the center and failed horribly. If only I could have found some black m&m's! Finally I settled for a large black sprinkle, eh who needs perfection. Although I like how they turned out you could substitute something different for bigger centers, and easily turn them to human eyes by using different colored candy melts and maybe adding some red veins. Maybe even a few eyelashes? Really fun, really cute, and really quick. Love it.


First off I'm sorry about the overly dark photos. It won't stop raining here in NY, and it's driving me bonkers. We already have awful window light in our house...so you add in a really nasty gloomy day and you get pretty crappy pics. Guess it's time to stop relying on natural lighting and break down and buy a photo lamp :(.

Here's what your going to need:
1 box vanilla wafers 
colored candy melts
white candy melts or melting chocolate
large black circle sprinkles (or whatever you would like to use)
parchment paper

I used half a box of wafers, 1 cup of white candy melts, and 24 colored melts to make 2 dozen cookies.

Step 1: Preheat your oven to about 170. 

Step 2: Line up your candy melts on a cookie sheet lined in parchment paper. Gently place a black sprinkle on top. 


Step 2: Place in the oven for two minutes. The candy melts will become shiny as they are just starting to melt. Just be careful! Not something you want to walk away from..or you might come back to a puddle. I recommend staying right there are keeping an eye on them. Your sprinkles should fall into the melts a bit...but if not gently tap them with a toothpick to get them to lay in there. Move them to chill in the fridge for a few minutes until they are hack to hard and easily peel from the parchment paper.


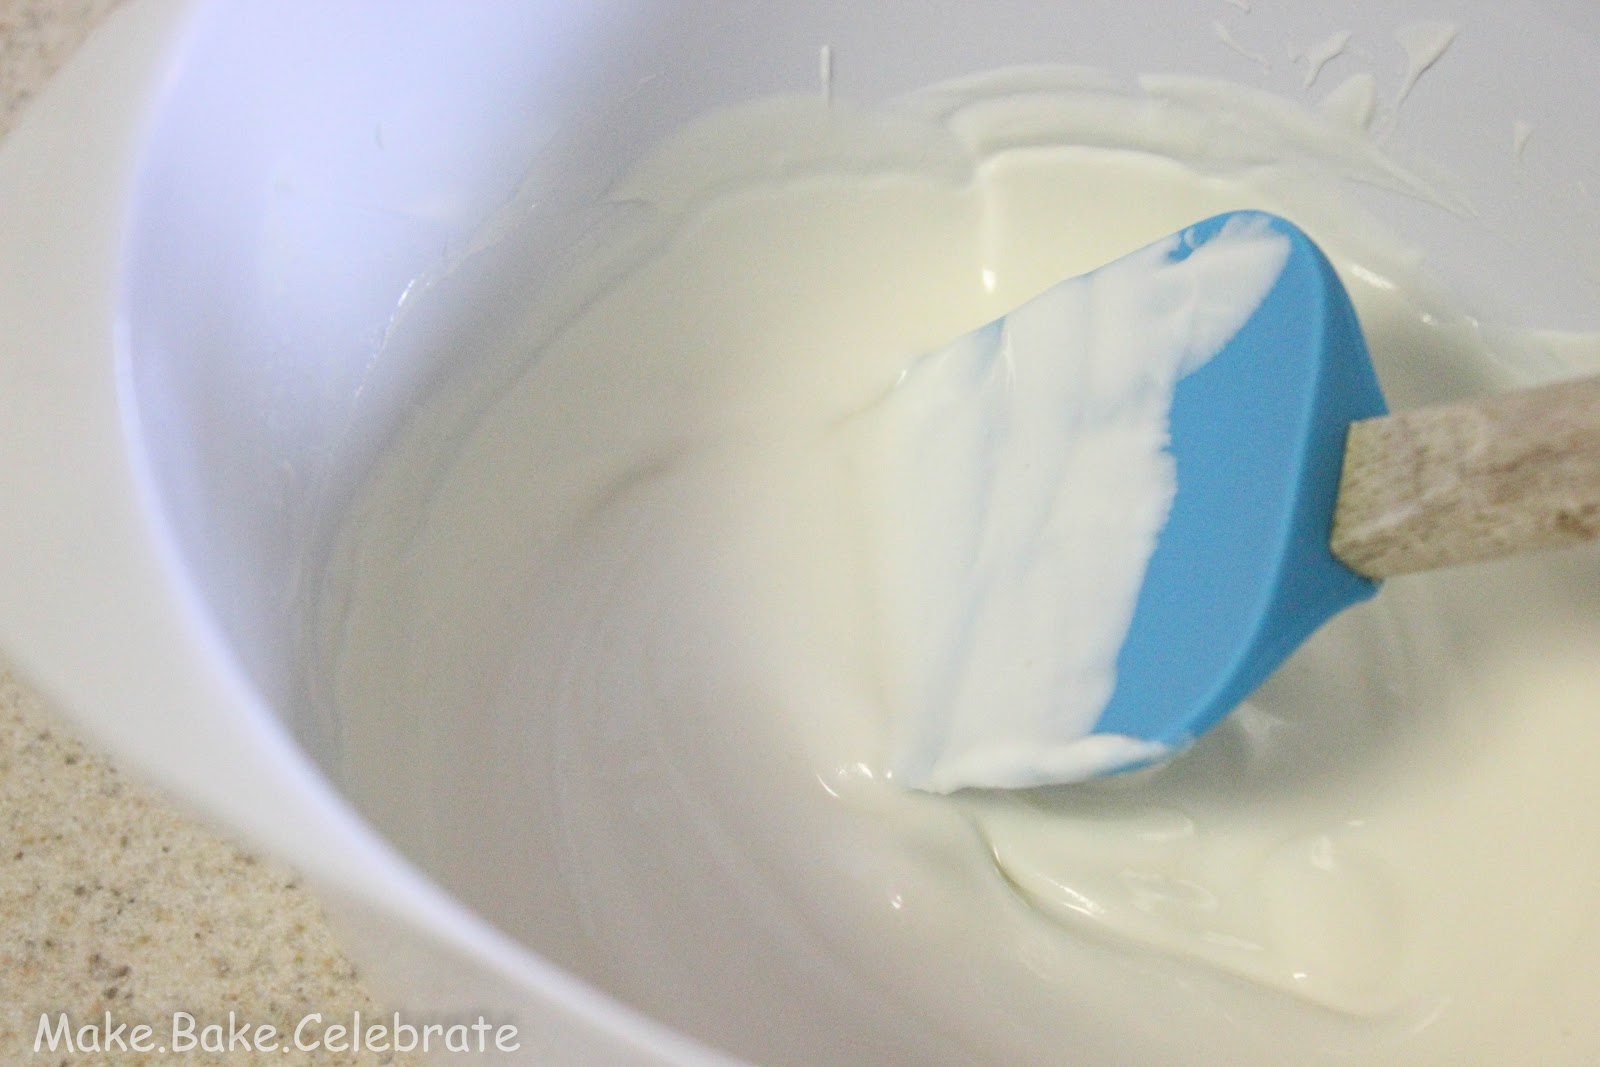
Step 3: Melt your white candy melts of almond bark. I melted 1 cup of the white candy melts for 2 dozen vanilla wafers. If your melting in the microwave start by melting in 30 seconds spurts at 50%-60% power stirring in between each time until melted. I recently purchased Wilton's chocolate melter and I LOVE it. Put them in and less then 5 minutes later your good to go. 


Step 4: While your waiting for your chocolate to melt, lay your vanilla wafers out on wax paper so they will be ready to dip.. Again sorry about the incredibly dark photos. Boo :/


Step 5: Cover wafer in the melted white candy melts. I do so by holding the cookie with a fork and them using the spoon to cover in it. I gently tap on side of bowl until all access chocolate is off. Then move back to wax paper lined cookie sheet.


Step 6: As soon as you move the cookie to the sheet place an eye center on the cookie and push gently. You will want to do each cookie one at a time of the white will set and you won't be able to attach the center part. 


And now you have some bite size monster eyeballs to chew on, serve up, or giveaway. Speaking of giveaway....as I was checking my newsfeed this morning I came across these printables by Amanda's parties to go...which just happen to match perfectly with my cookies! Cute right? She's always makes the best printables! You can get her FREE printables here, and tell her I said hi!


Now off to go decide what desserts and snacks will be having for the ladies night I'm hosting Friday. Let's just say I'm a little behind. (as in haven't started)


Happy monster eyeball making!

Monday, October 8, 2012

Breast Cancer Awareness Treat - Strawberry Bark


Hey there! I can't believe it's Monday already. I have a really busy week ahead of me...so I hope you don't mind I just right into today's pink post! Today I'm back with another pink treat for breast cancer awareness month, strawberry white chocolate bark made using my favorite pudding mix!. I've become a big fan of bark lately. It's really easy and fun to make, as well as really flexible.  You can add lots of different treats to make your bark yummy. My favorite combo is adding peanuts and pretzels to either white or regular chocolate. For this one though I decided to go simple and just stick with the strawberry and white chocolate, but you can add whatever flavors you think would be great! This would be a really fun treat to set out a a event or even package up for fundraising!


I really love using pudding to help flavor treats, and I wanted to see if you could flavor chocolate with pudding mix, turns out you can and it worked really well. I had planned to add in pink M&M's to my bark, however, all I could find was dark chocolate raspberry m&m's which I found to be less then fantastic. Even though my husband and kids liked them I couldn't bring myself to put them in :/. (although my guess it the kids were just happy to get a pink m&m after) However, pink m&m's can be found at many craft and party stores...and generally lots of other places during October.  We live in an area with limited selections, boo. Which of course means we don't have a baking store either so I ordered my ribbons sprinkles here. This was the best place to order them I found...and free shipping!

You will need:
1 24oz almond bark. 
Pink Sprinkles
Strawberry creme Jell-O pudding
Pink candy coloring (found at craft stores) 
Any other treats you'd like to add (M&M's, pretzels, peanuts, Oreos, etc.) 


Step 1: Line a cookie sheet with wax paper. Run your finger along the seam to press to crease the paper down into it. 

Step 2: Melt half (12 oz) of the almond bark in a microwave safe bowl. I start with 60 seconds at 50%-60% power in the microwave. Then I stir and continue in 30 second spurts until melted, stirring in between each time. When there are only a few little lumps left go ahead and pull it out. If you stir it around a bit they will melt and you won't have to worry about burnt chocolate. 


Step 3: Now add 6 tsp of strawberry pudding mix to the chocolate. Once mixed add in a few drops of pink candy coloring. I was really surprised that the pudding did not make the chocolate turn pink when mixed in...weird since it turns pink with milk! You will want to work quickly because the pudding does start to thicken the chocolate.


Step 3: Then pour and spread out over the wax paper. It may not smooth out perfect since it's thickened up a bit but don't worry the next layer will smooth out nicely over it. If your going to be adding any other treats (like pretzels) layer them over the strawberry layer now. Let sit in fridge until firm.


Step 4: Once the first layer is firm, pull it out and let it sit on the counter while you melt the second half of the almond bark the same way, then our over strawberry layer and spread out. You can shake the pan a bit to get it to smooth out. 


Step 5: Now toss on any toppings you would like to use. This is my girls favorite part! 


Step 6: Let cool in the fridge until hard. Once hardened you will be able to gently lift the entire piece up off the wax paper.


Step 7: Now just break it up!


Another really easy PINK treat! I'll be back later this week with one more. 


Happy baking!

Thursday, October 4, 2012

Creepycakes! Ekk!


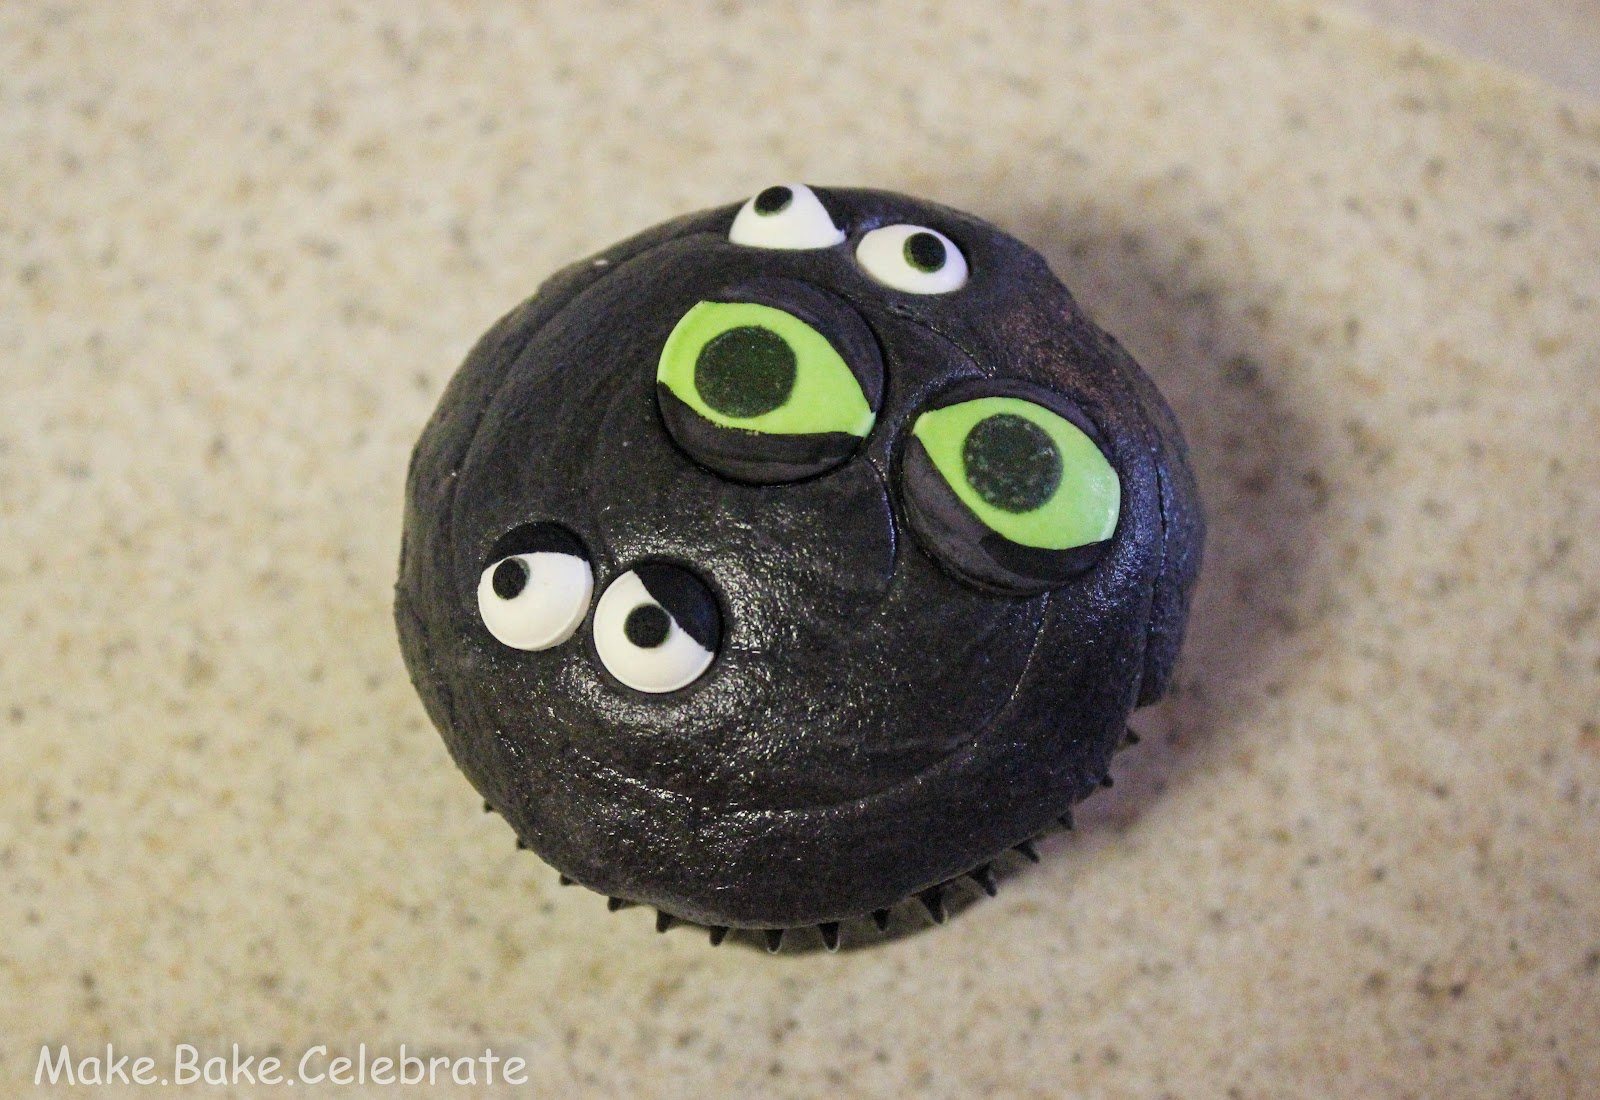
Have you ever ate a cupcake that stares back at you? Me neither...until now. Cupcakes are generally cute and friendly...but not these guys their pretty creepy. I would love to say I had a great reason for making these, to ya know vouch for my sanity, but I think I really just wanted to play with the new jumbo eye candies. That and I promised the neighbor boys cupcakes yesterday...these made up for the pink cookies I gave them. Not that they cared, or even took time to notice before wolfing them down. I actually just handed the girls some thinking they would love them because they were all pink and girly, next thing I know the boys are hanging around outside asking for cookies. Turns out I know nothing about boys, must be why God gave us all girls. See the things I learn from baking? It's not just all sprinkles ya know ;).

 Seeing our girls eat them was pretty entertaining though. They each held theirs and kinda stared at it...poked the eyes...maybe they thought they were going to blink? . Finally one of the littles popped an eye in her mouth and said "I yike eyes momma". After that it was all fun and games to bite off the eyes. 


Wouldn't these be great to take to a kiddo event. Silly and scary! For these I baked devils food cupcakes and used my normal buttercream recipe (half batch for 12). The eyes were found in the Halloween section of Wal-mart. They can also be found in the cake section at almost any craft store. These are incredibly easy and quick too!

Here's what your going to need:

12 chocolate cupcakes
2.5 cups of buttercream
Black Sprinkles
Candy eyes 
Black food pen
Black gel coloring


Step 1: Use your black food color pen to draw some eye lids on some of the eyes. This was really fun. I just googled "eyes in the dark" to find some inspiration.


Step 2: Add black gel coloring to your buttercream to tint it black. Don't worry it doesn't have to be completely black mine was more of a dark grey. The sprinkles will pretty much cover it.


Step 3: Using a large round tip (I use Wilton 2A) pipe a flat swirl on to the cupcake. I start in the center and work my way out...just letting the icing kind of fall into place.


Step 4: Use a clean viva towel to smooth out the icing. Lay it gently over the top the run your finger around and in circles to smooth out the icing and make it spread across the cupcake.


Step 3: Now add on some eyes.


Step 4: Dunk in a bowl of sprinkles. To cover gently lift and continue to lay into sprinkles...don't press to hard or move the cupcake around, you will mess up the icing. Just lift up and down a few times and maybe tilt on the side a bit.


Now you have a bunch of creepy, silly, and scary eyes staring back at you. 


Don't they remind you of a cartoon when the lights go off and an extra set of eyes pop up. Blink blink. Blink blink. :)

Wednesday, October 3, 2012

Boo-tiful cupcakes...and some BIG news!


Guess what!? We're moving! No not to another state again...the blog is moving. To a brand new shiny site! That's right were headed to Wordpress, and I could not be any more thrilled or anxious. The truth is we've outgrown this site for a bit now. I'm really limited what I can do here on Wordpress. I've been getting lots of emails on site things like how to follow by email, easy printing of the recipes, and so on. I just wanted to let you guys know that I hear you! I haven't really worked much at updating this site as we've grown because I have know for a while we would be moving, I just had to get it all set in stone before sharing. Soon we'll be shedding this plain jane site and slipping into something fantastic. Are you as excited as I am?


Now generally when it comes to moving, I'm a pro. Let's just say my children average one state per year they've been alive (thank you Army). How I wish I could just box everything up and load onto another site, add some fresh paint, and cute decor....but of course it doesn't work like that. For this move I am way over my head, so I've enlisted some help. Sugar studios will be building a page from scratch! If you haven't checked out them out head on over and find them on Facebook. Her work is fantastic and I can't wait to get started. But because she's awesome she's got a long line of work so the new site won't be launched until the end of the year. Which is really a good thing, because even though I am so ready shed this old site, it gives me time to plan and figure out how everything needs to be! But why am I telling you guys now? Because I want YOU to be a part of the process. Without you guys Make.Bake.Celebrate it just a online journal of all my crazy ramblings and a few photos (ok a lot of photos). But my awesome readers make it an fun place! Somewhere I get to create and then share with you...and I really love interacting with you guys...see your pictures and reading your comments! I want the new site to be a great tool and a fun site, a place where you can find recipes, crafts, party ideas, printable...all with ease. I have lots of ideas for the site but I really want to hear what you want....do you guys have any ideas?  Please let me know! Feel free to email me or leave a comment below. 

Oh...and I made cupcakes! It just wouldn't be me to post a boring blog post without some fun pictures. So I thought I share some BOO-tiful cupcakes I made. Remember when I made the candy corn meringues and I slipped in a few ghost? They ended up being the perfect cupcake toppers. Really easy and really cute! So if your looking for an easy dessert give these a try! I used a devils food cupcake iced with a flat swirl of butter cream and sprinkles. They I just pipped a little blob of icing on top and stuck them on there. My meringue recipe is here and if you need buttercream info you can find that here. Their not just a treat either their also a trick...because the meringues look just like pipped buttercream. Ok I'll stop trying to be clever now...


You may also notice a few changed here and there as I try to make do on blogger for the last few months. Make sure your following M.B.C on Facebook so you can keep up with all the changes and things going on in the near future...and thanks for being patient as I get everything in order. I can't wait! 


Happy Baking!

Tuesday, October 2, 2012

Breast Cancer Awareness Treats : Strawberry Sugar Cookies


It's October and that means it's time for a little bit of PINK... for those of you that didn't know it's breast cancer awareness month. Before you think duh...I promise not everybody knows that, really it's true. My neighbor and good friend came over to sample some of these cookies and honestly didn't know...and she claims to be a pink lover, ha! I for one love being able to find things in my favorite shade of the rainbow all month while supporting a great cause at the same time. (ok so it's not in the rainbow but it should be) My only quirk is that it's in October... I mean seriously why do they do throw it in the middle of October where spooky things and creepy crawlers are on every shelf. It's just confusing. Do I buy the pink M& M's or the pumpkin M&M's...why not May? May would be the perfect time for PINK and people have a lot less to do and could plan more fundraisers and events..even spend more money on products because their not out buying cheesy costumes and making themselves sick off candy. See yet another argument for the guy that plans the calendar. When I grow up I want to be America's calendar lady...so I can remove August, add a bakers day, and put Pink in May among a few other things. Back to the pink cookies...


I know many of us know and care about somebody who has been diagnosed with breast cancer, so I wanted to create a few treats that would be great to make for functions and fundraisers. I have several ideas and I can't wait to share them with you, so keep and eye out! Today I baked up some of these pink cookies and they were just what I needed, some girls need a glass or wine or a hot bath...I like to color food pretty colors and roll them in sprinkles :). I used the same recipe as I did on the swirly Halloween cookies. They aren't an overly sweet cookie so the sprinkles work really well, and the light strawberry taste is different and fun. I REALLY loved them when they were warm and the chocolate was still soft and gooey...and if your not going to eat them right away...you can pop them in the microwave for a few moments later on. Yum. 


If you'd like you could use your own fav sugar cookie recipe or even a mix. I chose to once again use Sugarbelle's and just added some strawberry flavoring for a fun taste. Which is also optional of course.

Here's what your going to need:
2 sticks unsalted butter, softened
1 1/2 cup powdered sugar
3 TSP. strawberry extract
2 3/4 cup flour
2 TSP. baking powder
1 TSP. Salt
Pink gel coloring
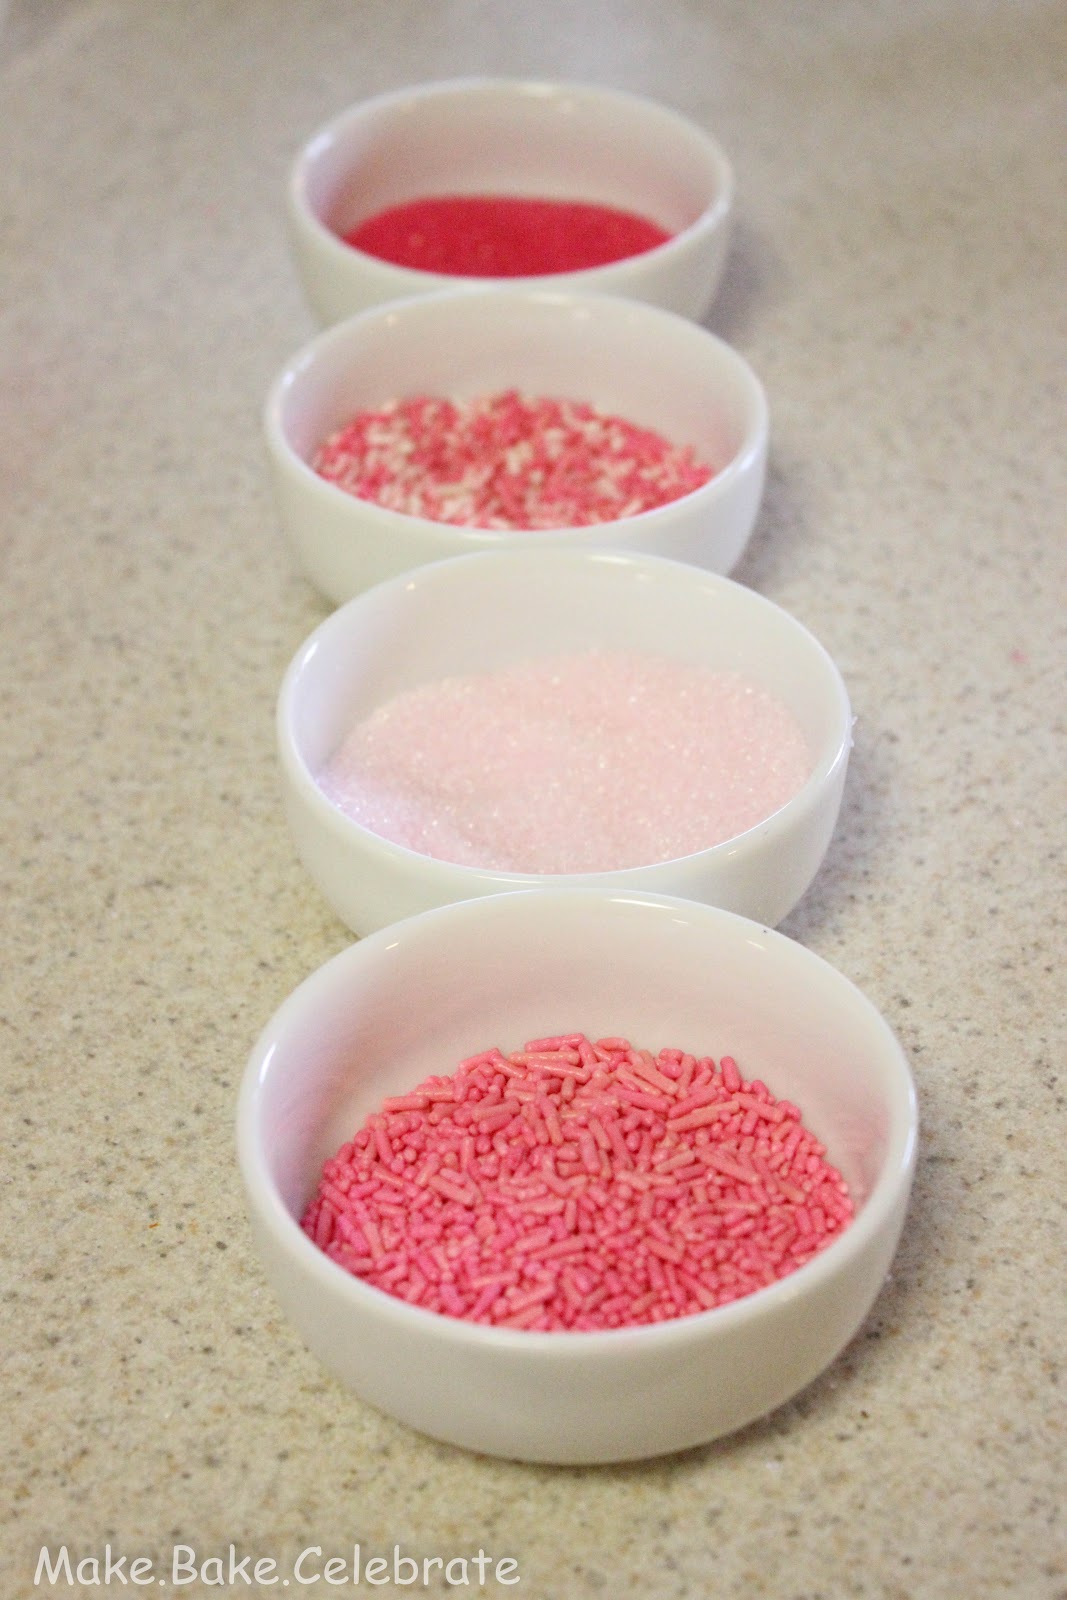
Pink sprinkles
White candy melts
Parchment paper


Makes about 2 dozen cookies.

Step 1: Beat together butter and sugar.


Step 2: In a small separate bowl mix together egg and flavoring. I used 1 TSP vanilla and 2 TSP strawberry but you can flavor it any flavor you'd like.


Step 3: Add the egg/flavoring mixture and mix well.


Step 4: In a separate bowl sift together flour, baking powdered, and salt.


Step 5: Slowly add in flour mixture 1/2 cup at a time until it's fully mixed.


When your dough is ready it will not stick to your finger much when pressed. If it's still a bit sticky work in a little more flour.


Step 6: Split into however many shades you would like. I used three shades of pink.


Step 7: Roll into a ball and press thumb in to make an indent. Apply a bit of pink gel coloring into the indent. Remember light pink only takes a little bit! So add just a bit and keep adding if you need to. Work it into the dough by folding the dough in towards the coloring. This will help keep it off your hands.


Step 8: After coloring the dough, place it in the fridge to chill covered for about 5 minutes. You don't have to do this but I found my dough gets kind of soft from working the coloring in.


Step 9: Roll the dough into balls about 1.5 inches wide.


Step 10: Press candy a candy melt or two inside. (optional)


Step 11: Now roll back up into a nice little ball.


Step 12: Now roll around in some sprinkles. See isn't this fun? Who needs wine :)


Step 12: Once your balls are all stuffed with a candy melt or two and rolled in sprinkles take the bottom of a clean flat cup and squish just a bit. I was able to use the bottom of my cup kind of a guide to make them all the same size. Once they went just over the edges I stopped. Remember to be gentle and slow!


Step 13: Bake at 350 for 9 minutes.


 Let sit for a moment then cool on a cooling rack. Or gobble them up once they aren't crazy hot but still soft and gooey.


Cookies - pink -white chocolate - sprinkles. Many of my favorite things crammed into one. :)


These package up really easy and would make a great treat to use at an awareness event. I would have showed you a cute little way to package them...but it started raining about 5 minutes after I started photographing! So I was thankful for the few shots I got and called it a day :)


Happy Baking!