

Hey there! I hope everybody had a fantastic and sweet Halloween. Are all you mommas enjoying your candy tax, you know the 10 percent you get for taking them door to door collecting candy? The hubs enforces that rule strictly ;). My kiddos had a total blast last night but now the littles can't seem to figure out why they were allowed to collect all that candy in 2 hours and not eat it all in 2 hours. Poor kids, they've got it so rough I tell ya. :)
Now that we're all coming down off of our sugar comas it's time to talk about Turkeys because it's already November! I thought I would kick the month off with something super cute and fun, Turkeys of course! I honestly can't remember making Turkey anything, they're just never on the top of my list. So I wanted to make sure to include them this year, and I'm really glad I did. Aren't they fun?


Let's face it, Turkeys are not that cute. Actually they are down right ugly and weird. Sorry, but it's true. So when I set out to make these I knew I wanted to make them cute and spunky. I decided to give them big eyes and concerned eyebrows...because quiet frankly if it was November and I was a Turkey...I'd look a little scared too. I also left out the wattle, in case your not up on your turkey lingo...that's the little red thing on it's neck. No matter how I made it..it just looked out of place. So I took a vote, and everybody liked it without. Even if your a total fondant beginner, no worries you can make these! If you can play with pal-doh you can make fondant turkeys.

These will be really fun to take to Thanksgiving! And since they are made out of fondant they can be made ahead, dried, and stored. We're traveling home for Thanksgiving...so I am going to wrap these guys up tight and throw them on some cupcakes when I get home. Fabulous dessert...zero stress.
Want to make some of your own? Here's what your going to need!
22 oz Fondant
Red, Orange, Yellow, Brown gel coloring
Orange sprinkles for feet (I used pumpkins)
Eyebrow sprinkles (I used red jimmies)
Black coloring OR small round black sprinkles for center of eyes
Small leaf cutter
2 in circle scallop cutter
Rolling pin (I recommend Wiltons small fondant pin)
Parchment paper
Warm water
Food safe paint brush
Drinking straw
Most of these supplies can be found at your local Wal-Mart or craft store.
Makes 12 fondant turkey toppers.
Step 1: Start out by dying your fondant with your gel coloring. I dyed approx. 8 oz brown, 4 oz. of red, yellow, and orange. If your going to use fondant for the center of the eyes instead of sprinkles, dye a very small amount black. Fondant dries out quick, so remember that when your not working with your fondant wrap it up in plastic wrap, I wrap each color chunk separately. I also put a bit of Crisco on my clean hands to keep it from sticking.
Step 2: Line a cookie sheet with parchment paper. Then lay out a piece of parchment paper on the counter to work with. Also in a small bowl place a TBS of hot water and a pinch of fondant. The fondant will melt and eventually become a "glue".
Step 3: Roll out your yellow onto your parchment paper about 1/8 of an inch thick. I like to use the Wilton rolling pin because it has the simple guides that go on each side to make rolling fondant even easy.

Step 4: Cut out 12 circles using a 2in scallop circle cutter. These are pretty popular but mine came in a holiday set from Target, currently available for 6.99. This is a REALLY handy cutter to have. Move each circle to your cookie sheet, giving them a little space.

Step 5: Now do the same thing with orange. But when your finished lay the orange circles over the yellow, slightly offset.

Step 6: Then repeat with red, slightly offset from the yellow.

Step 7: Once all the colors are on...line your cutter back up with the original yellow piece. Then push down trimming off the excess red and orange.


Step 8: Now use a knife or fondant wheel and gently press lines into the "feathers".

Step 9: Once the feathers are done begin rolling out turkey bodies and head. My turkey bodies were about 3/4 of and inch. I would roll out a set first and see how big your want it...then try to roll the others similar in size. You will need 12 of each.

Step 10: Now grab your fondant "glue" you set aside. You will want to mix it up well once the fondant has melted into the water. Use a food safe paintbrush and glue the head and bodies together using your fondant/water mixture.

Step 11: Now for the details. Small fondant pieces dry quickly with air so I like to work on one turkey at a time. To make the eyes, roll out some white fondant very thin. Then use the end of a straw to cut small eyes. I just pick the fondant up and they seperate. Be gentle!

Step 12: Now using a small drop of "glue" attach the whites of the eyes. I pressed in a black sprinkle to make the centers...but if your would rather you can roll a small ball of black and press it down on the white. Then "glue" on some sprinkle eyebrows.
See how my sample one had a wattle? Weird looking right? I later took it off.

Step 13: Now to make the beak. Take a very small pea size peace of yellow and roll it into a ball. Then gently pinch one side and you will get a nice beak like pyramid. Glue onto the face, holding each one for a moment until they stick and stay. Once all the beaks are on...gently apply some "glue" to the back of the turkey bodies and press on the feathers.

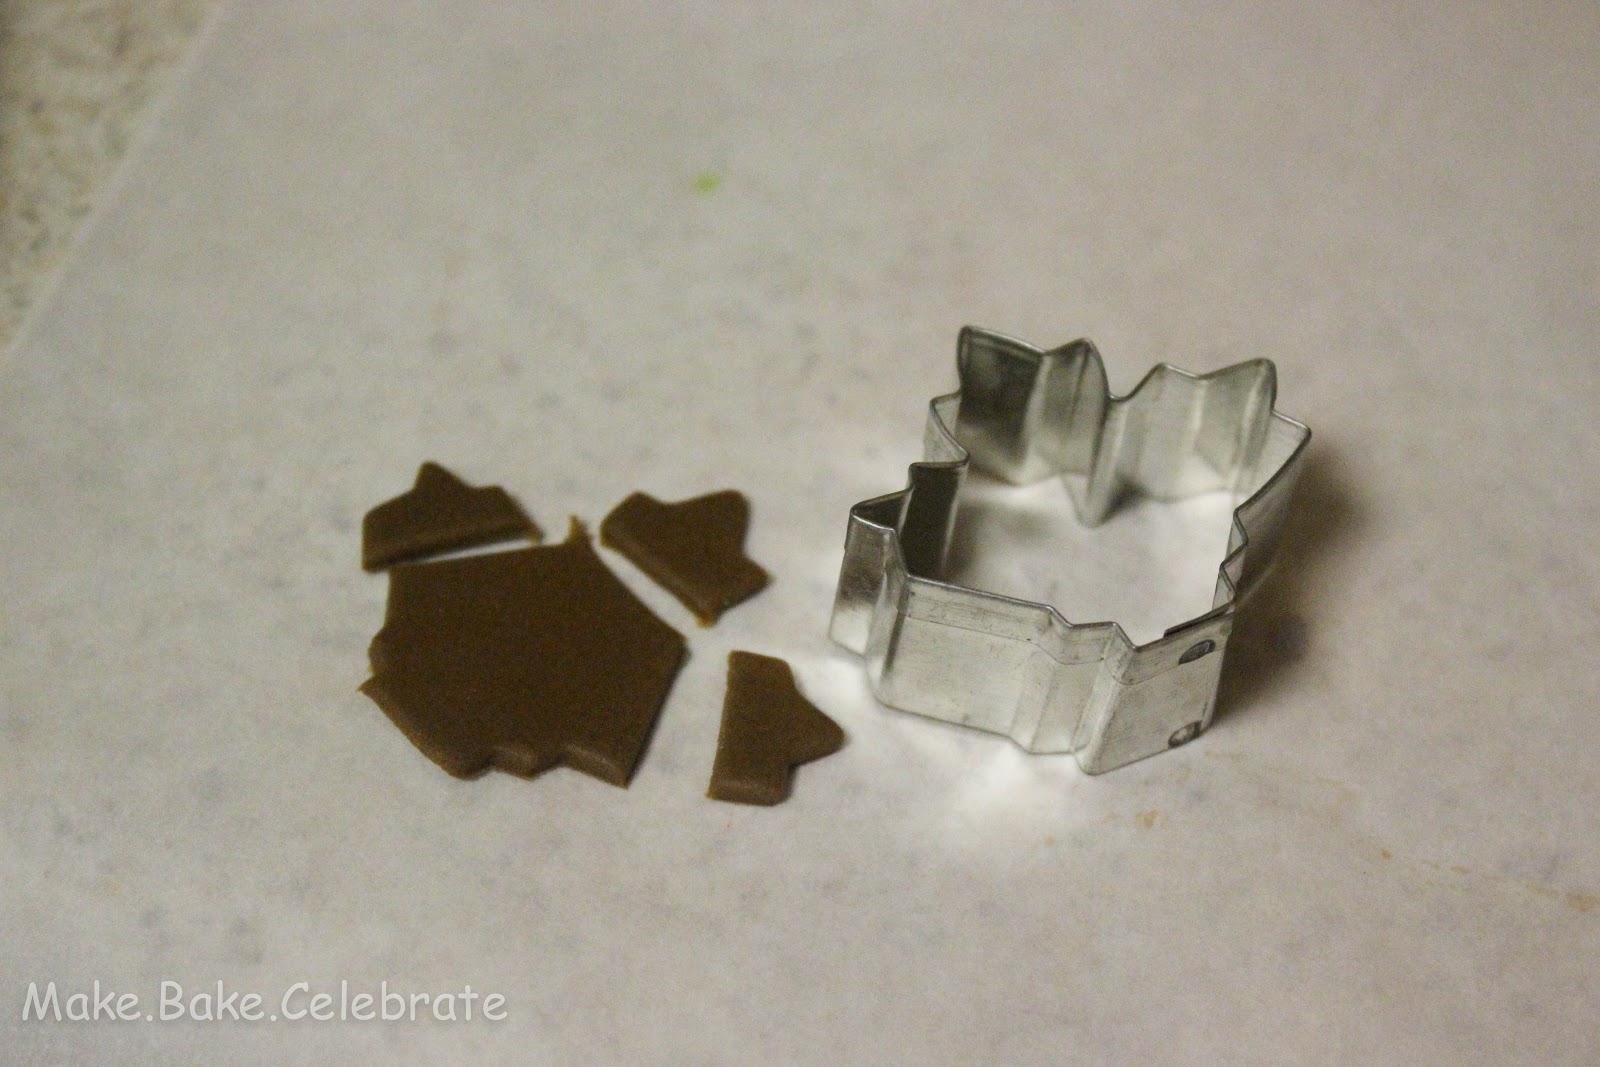
Step 14: For the wings...roll out a piece of brown fondant and use your leaf cutter to make leaf shapes...then trim on each leaf tip. These make great wings! Glue wings on with fondant/water combo. This is a very popular Wilton leaf cutter found at many local stores in a small fall set. Of course you might find something that works just as well in your home, or even hand cut them!
Step 15: For the last step. Simple take some orange sprinkles and a tiny bit of "glue" and press them into the bottom. I used pumpkin sprinkles and they worked really perfect!

That's all! Now leave them sitting out for a day to dry and harden up, then wrap up in plastic wrap, gently, until needed. Fondant can be good for several weeks, even months (I personally have never let it sit that long). Remember fondant's enemy is water...so do not refrigerate or place on cupcakes until close to serving time. If they are left overnight on buttercream they may soak up moisture and become sticky.

Gobble gobble.

Happy baking!