

 Gather your bow making supplies again. This time you won't need your ruler but you will need a small piece of cardboard.
 I have a system of bow tools that I use for many bows, I will share that later. For now here's a little trick to help you out. Use a piece of cardboard from something around the house. I used the cardboard ric rac comes wrapped around. Cut the cardboard to a width you would like your bow to be and make it a little shorter or just as tall, then cut a slit up the center just passed the middle. My piece is 2.5in tall and 3in wide.
 For the ribbon in this bow I am usnig a 5/8 white ribbon and a 7/8 polka dot for the bow.
Now onto making a bow! Step 1: lay the ribbon out then lay the card over it, most bow makers will tell you to cut the ribbon a certain length. I like to work right off the spool when I can. It uses the least amount or ribbon and allows for adjustments.
 Step 2: wrap the ribbon end across the cardboard to the bottom right hand side, clip to keep in place.
 Step 3: Now lay the other end of the ribbon across the bottom left hand side, cut the ribbon and then clip to hold in place.
 Step 4: Take your needle and thread and make one or two stitches in the center of the bow. The slit will allow you to sew with the cardboard.
 Step 5: When you get to the top of the slit slide the bow off hold it like this. Then finish stiching up the bow. Try to keep the stitches even.
 Step 6: Slowly pull the thread down and the ribbon up until you get a nice gather.
 Your bow should look like this!
 Step 7: Cut and heat seal the ends. I cut them in a simple angle but you could use a V cut also. Remember to just pass the ribbon close to the flame.
 Step 8: Apply a small dot of glue on the back of your bow then attach the ribbon. Then wrap the ribbon around the bow and apply glue. Cut the excess.
 And there you go! I a simple tails down bow...no tieing involved.
 Step 1: lay the ribbon out then lay the card over it, most bow makers will tell you to cut the ribbon a certain length. I like to work right off the spool when I can. It uses the least amount or ribbon and allows for adjustments. Step 2: wrap the ribbon end across the cardboard to the bottom right hand side, clip to keep in place. Step 3: Now lay the other end of the ribbon across the bottom left hand side, cut the ribbon and then clip to hold in place.Step 4: Take your needle and thread and make one or two stitches in the center of the bow. The slit will allow you to sew with the cardboard.
 Step 5: When you get to the top of the slit slide the bow off hold it like this. Then finish stiching up the bow. Try to keep the stitches even.
 Step 6: Slowly pull the thread down and the ribbon up until you get a nice gather.
 Your bow should look like this!
 Step 7: Cut and heat seal the ends. I cut them in a simple angle but you could use a V cut also. Remember to just pass the ribbon close to the flame.
 Step 8: Apply a small dot of glue on the back of your bow then attach the ribbon. Then wrap the ribbon around the bow and apply glue. Cut the excess.
 And there you go! I a simple tails down bow...no tieing involved.
Theres is so much you can do with this bow!
 Here's a bow I made for Cadence's ballet class.
 Add a double layer for a cool look.

 Here's a bow I made for Cadence's ballet class.
 Add a double layer for a cool look.


 Step 9: Wrap the thread around the gather then tie it off.

 Step 11: Put a dot of glue on the top of the bow and apply the knot.
 Step 12: Add a drop of hot glue to the back of the bow then wrap an end, trim, then wrap the other end and trim. Heat seal the end sticking out.
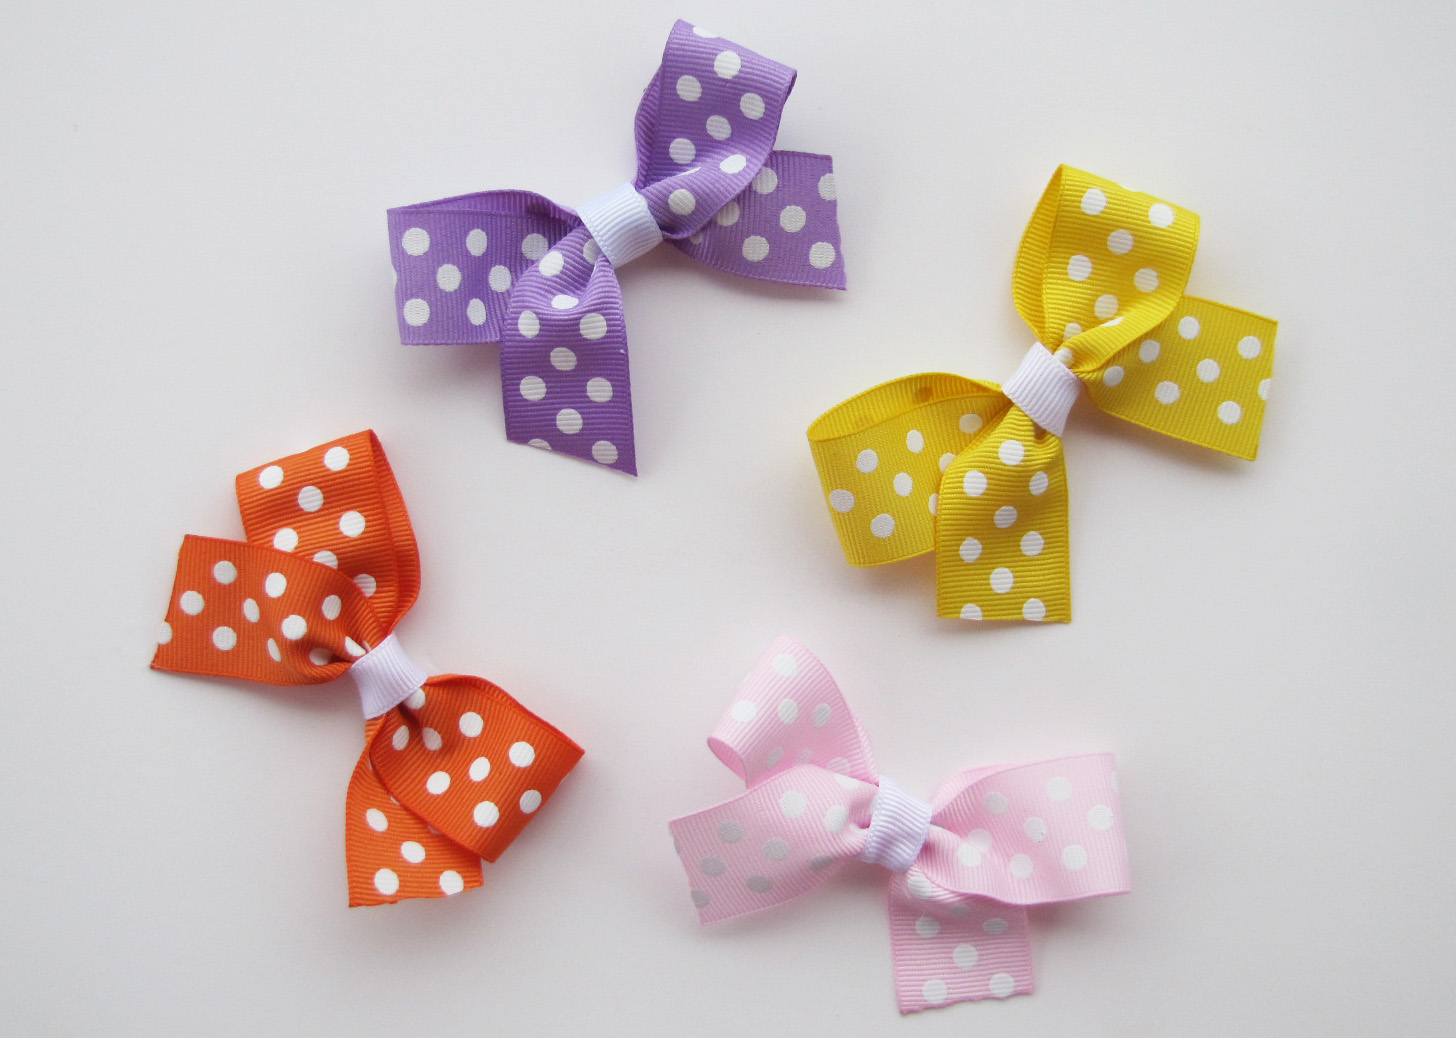
 There ya go! These are a great to make in lots of different solid colors to have around to match all kinds of outfits.
 I made these to cordinate with the colors of the fall. Perfect for their pumpkin and turkey outfits :)

 Here's the supplies you will need to gather for almost all bows. Your choice of ribbon, scissors, a lighter, clips, thread, a needle, a glue gun, ruler, and shelf liner. I buy alligator clips 100 in a box for $5.00 at Sallys. For this bow you won't need the needle or thread.
 Step 1: Cut 3 pieces of ribbon 4in each. Cut a a strip of shelf liner 2 rows wide and just over an inch long.
 Step 2: If you would like to have a knotw in the center tie one strip in a lose knot do not tighten. If you would like a flat center skip this step.Use the lighter to heat seal the ends of the ribbon. Just slowly run it close to the flame don't let it go into the flame! This will keep you ribbons from fraying.


 Step 4: Apply hot glue along the clip and then wrap the ribbon around, there should be a small tail left.


 The sticks are a must...they totally finish the cupcake. Wish I had time to tie some bows on them. Man what happen to the wrappers???
 Aren't they cute?!
 Red for Bailey Boo...
 ....and green for Miley Moo!


