


Of all the different treats I love to make, cookies continue to be a challenge for me. Although they are probably close to being my favorite to decorate....I'm just not that good at it! Easter always gets me wanting to make cookies...I can't resist all the little chicks, eggs, and bunnies with all the pretty colors! So I recently baked up a ton of rolled sugar cookies to stash in the freezer and work on my cookie skills. So this week I have been working on cookies, cookies, and more cookies!
Next week my girls and I are going to be hosting a PEEPS themed playdate. I adore PEEPS. They were always a sure sign Easter was coming around growing up. I remember first seeing them come out for different holidays (thank you Lord!). But the chick and bunnies will always be at the top :) So I decided to make some PEEPS coookies for the kiddos. I would just have to cover them in sanding sugar just like real PEEPS so I figured it would be an easy project...until I realized I didn't have a cookies cutter that came anywhere near a peeps chick or a bunny. After checking just about every store in town, no full body bunny anything like a PEEPS existed let alone a chubby chick....after searching online I find hobby lobby carries one. But here in New York...we don't have one, BOO. So, I decided it was time I figure out how to make my own cookie cutters.
Belive it or not good cookie cutters are hard to come by. Most stores just carry the same old ones. So many times I have cut a shape by hand or changed my plan to somethig else due to lack of a cutter. So I set out searching the net for how to make a cookie cutter. I gathered up several different ideas to come up with how I felt made the best way to make them. Here it is!

Materials: You will need pipe cleaners, a marker, metal flashing, steel adhesive, clips, tin snips or heavy scissors, tape, a ruler, a template or photo of the picture your trying to replicate, and little items to help you fold and round.
We bought the metal flashing and the steel stick (adhesive) at Lowe's, both were food safe. Make sure you check to see if they are food/water safe. The two items were about 15.00 but I wanted to to really hold up and I will be able to make about 100 cutters from one roll. If your just trying to make it a one time thing you can use a foil pan.

Step 1: First thing you need to do is pick a template of what your trying to make. I got my little chick outline from here and printed it in 3X5 photo size. It was perfect. Remember your cookie will always grow a little while baking.
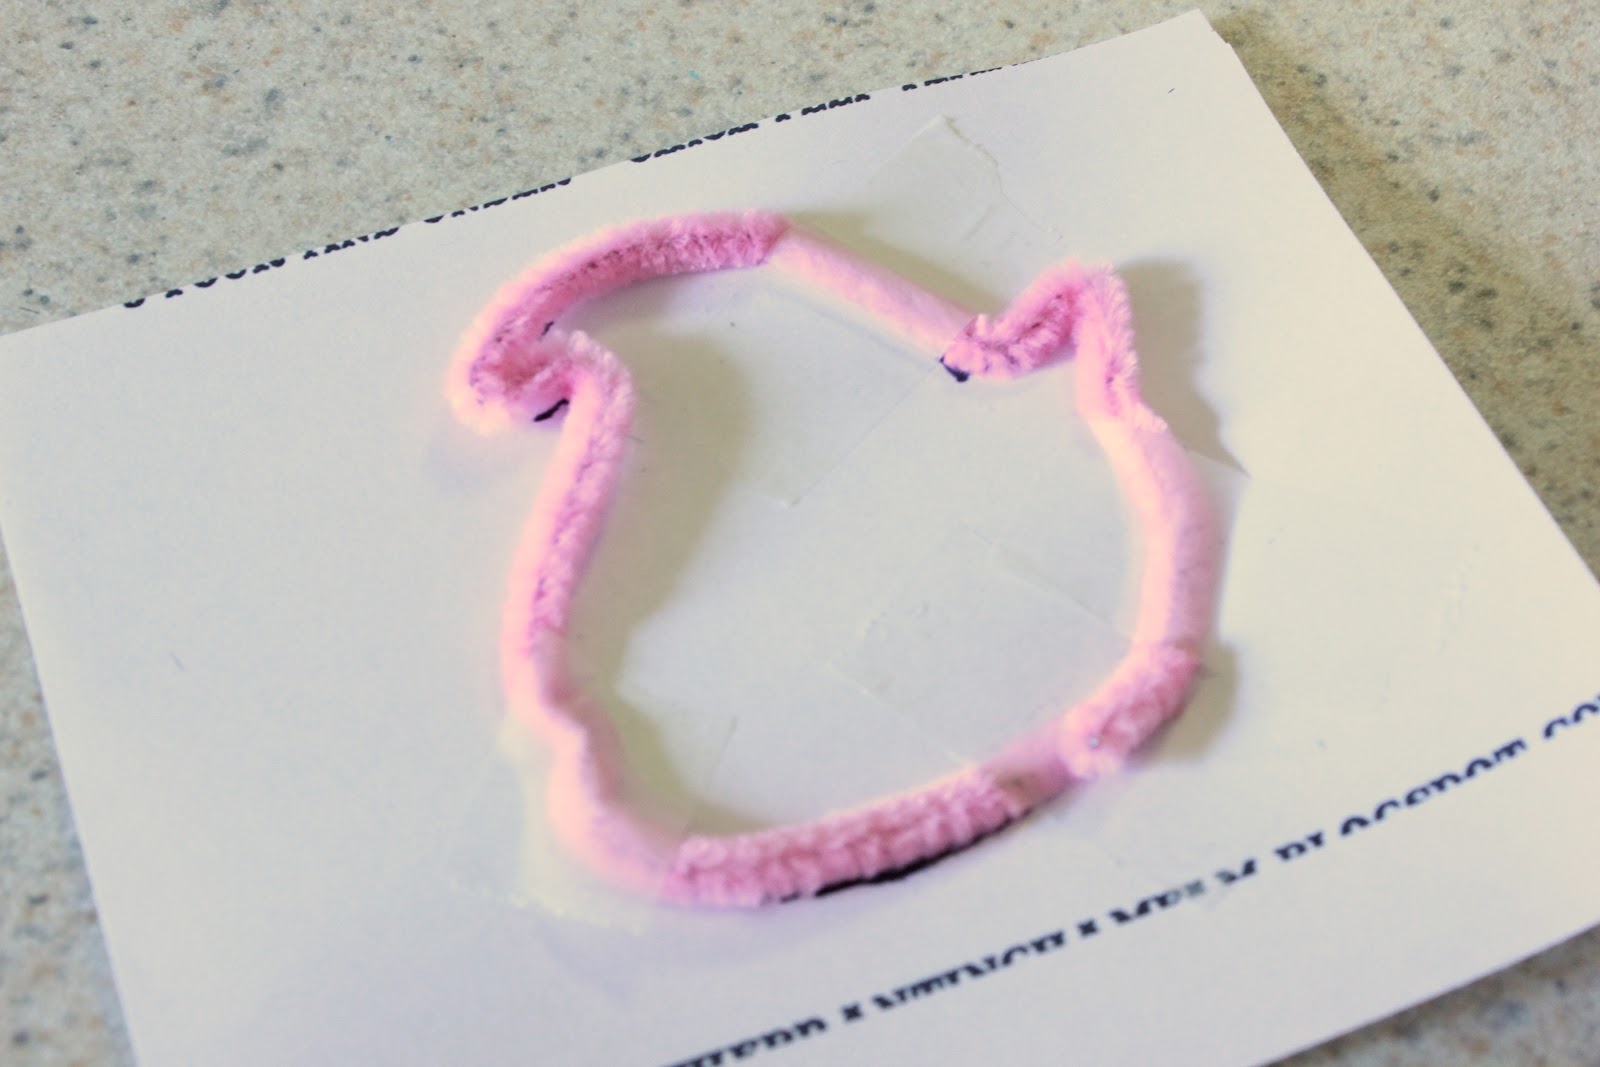

Step 3: with your marker, mark every spot the sape bends.

Step 4: Remove the pipe cleaner, you can now measure to see how long your metal will need to be.
Step 5: Add about 1/2 inch to your measurement and that will be your total cookie cutter length. I found a width of 1 1/4 in worked great. Use your marker to mark off your strip on the metal. So sorry I forgot a picture!

Step 6: Using tin snips or scissors cut out the strip. If you have a heavy pair of scissors they work much better. Tin snips made the cut a little more rough.

Step 7: Use tape to secure your metal stirp to the ruler, there should be just a little bit hanging off.

Step 8: Use the ruler to help bend over an edge on your metal strip. Bending it over gives you a nice smooth safe edge o push down on when cutting cookies.

Step 9: Use something hard to run along the strip and flatten in. I used a bone folder.

Step 10: Once you edge is nice and smooth tape you pipe cleaner to it, making sure it is straight as possible. Then use the marks on the pipe cleaner to make the metal strip...this is an easy way to show you exactly where to bend.

Step 11: Keeping the outline near to guide you, begin to fold the metal at every mark. Make sure you looking at the image to know which way to fold. Most of the time it will be out. I used a metal scraper thing look around the house for something flat that will help you get a clean fold.

With all the folds, it will look like this...still doesn't really scream peeps right? Wer're getting there!

Step 12: Here is where I randomly grab round things to help. I used a chapstick, glue stick, and marker to elp round the curves of the chick. Continue shaping and molding while repeatedly laying over the outline to help shape. Remember you want the extra 1/2 to overlap.

Step 14: Once your cutter has dried over night, wash really well. And now your ready to bake!

Here are my two peeps cutters I made.
Just a little note....sometimes the top of the cutter gets a little wonky when bending because its double thick...thats ok! As long as you cutter side is still smooth you good to go :)

Now think about all the creations you can make! The possibilites are endless. I am so excited I a no longer bound by the cutters I have on hand. I am really poud of how these little PEEPS turned out! To make these cookies I simple covered in royal icing and then sanding sugar, then added the eyes.


Just hanging with my peeps :)

More PEEPS! projects come soon....very soon :)