
{Replace the studio}
Photography tips and tricks to help mommys take studio shots, right at home.

The great thing about this blog is you really never know what your gonna get! Sometimes its baking, some times it's a craft....but today it's photography! Let me start off by saying this....I AM NOT A PRO! Good. Just wanted to put that out there! haha. I am simply a mommy/crafter with a camera and I don't want to claim to be anything more. Over several years of playing and a small bit of training I have learned enough to get my way around. I have always loved taking pictures...if theres anything I love to do more then craft it's photograph everything! While my husband was deployed to keep me busy I worked as a photographer at a well known photo studio so I do have a bit of "professional" training. After having the twins I missed taking my kids pictures, was tired of paying the price, and really hated the hassel of it all. I mean seriously.....have you tried taking two 1 year old in for pictures? Ugh.
We keep saying we are going to order a backdrop and lighting but it hasn't happened yet. But really you can get some great shots without all that jazz. All you need is a camera, some natural lights, a wall, patience, and a willing victim kid. And if you really want to try this but are a little unsure...maybe grab an adult to play model while you try it once.
So for all my non photographer mommys friends here is my tricks and tips for getting those "studio images" right at home :)
First thing I do is plan what I am going to do. I plan location, time, outfit, and props.
Location: pick somewhere in or outside the house with beautiful natural light. If your outside remember to not put the kiddos where the sun is beating down making them uncomfortable and squinty...and you'll have an aweful glare. You DO NOT want to use the flash so somewhere with good natural light is best. The dining room has always worked well for us.
Time: for us 1-2pm works best...right after nap when the sun is brilliant and the kids are fresh. While the kids are napping I get everything "ready".
Outfits: Pick something your little one really loves to wear. Solid colors always look great or simple patterns.
Props: Grab some things your kiddo really likes. Maybe some books, their favorite blankie, or stuffed animal, a flower, a letter off their wall....get creative here. But not too crazy! Remember it's the kid you want to photograph.
Ok everything is set up, kid is freshly napped, camera is charged...
In the studio we had to follow a outline for each session. I always use it to this day to make sure I get all the traditional shots. Later I will play around and get fun things but while my window of oppurtunity is open I try to get the traditional shots I want. Like I said...I'm no pro so I'm just trying to get a classic shot first then play with some creative things. Here is the outline I follow with every session.
3 layers (a layer is a change of backdrop, outfit, or prop)
3 positions in each layer (standing, sitting, laying)
3 Shots of each position (full body, waist up, head shot)
1 super close up
1 (minimum) prop
1-3 enhancement (black and white, collages ect)
Ok so hopefully your following along. Your taking 3 layers with 3 positions in each and 3 views in each position...coming out at 27 photos total then a close up and a prop. Now these numbers are a perfect shoot. Of course when your working with a 1 year old you most likely will have to take the same shot a few times to get it. But following this outline keeps me moving and getting different shots. Obviously they aren't all going to turn out amazing!
Ok so for those of you that are totally lost...I'm going to break it down barney style for you, with visuals! ;)
The other day I took some photos to mark Cadence turning 4. Yes, 3 months late but hey we moved to NY! She is really into "fancy" things right now so we decided on her easter dress, her strawberry dress because she is Strawberry Shortcake CrAzY, and a little sun dress she just wanted to wear. I wanted to take some in her room with purple walls because it's her favorite color, and I wanted to take some in the dining room where the light is great. We have these aweful heaters at the new house so to dodge them I decided to just put her right up on the table! It worked out great. Here's my 30 minute session with her.
Here are my three layers:
1. Cadence's room (purple wall)

2. Strawberry dress (on our dining room table!)

3: Dress Change

I had more then three layers but really you only have to have one. I'm simply following my outline.
Here's what is going to give you several easy shots.
In the strawberry dress layer I have three positions (poses).
1. Standing

2. Sitting

3: Laying

See how that created three different quick shots?
If you want to take even more....take three different shots in each position. Mine are full body, waist up, and a head shot. If you are really wanting to be quick, Just make sure you've got a good full body. By using just a little cropping you can get the same effect. Here's one photo cropped into three.
1. Full Body

2. Cropped from waist up

3. Cropped from shoulders up.

Three very differnent looks all from the same postion...even the same photo if you'd like :)
So there you have it. Three different layers, three different positions, three different shots. Easy outline for some great pictures in a flash, ha.
This is what it looks like wrote out:
Layer 1:
Pose 1 - Standing
Full body
Waist up
Head shot
Pose 2 - Sitting
Full body
Waist up
Head shot
Pose 3 - Laying
Full body
Waist up
Head shot
Upclose, head turned, silly stuff, etc.
And repeat for Layer 2 and 3.
After taking the first nine shots I grab a few fun things before moving on to a different layer.
Have the kids look towards the sunlight. Such a innocent effect right?


Then I throw in a prop. Belive it or not Cadence picked this. It was in her room waiting to be hung. She thought she looked like a barbie in a box. Of course she has no clue that picture frames in pictures are all the rage right now ;)

And I used a little white chair.


Sometimes while the kiddo is laying I grab one eyelash shot. (really upclose) These are always so pretty in balck and white.


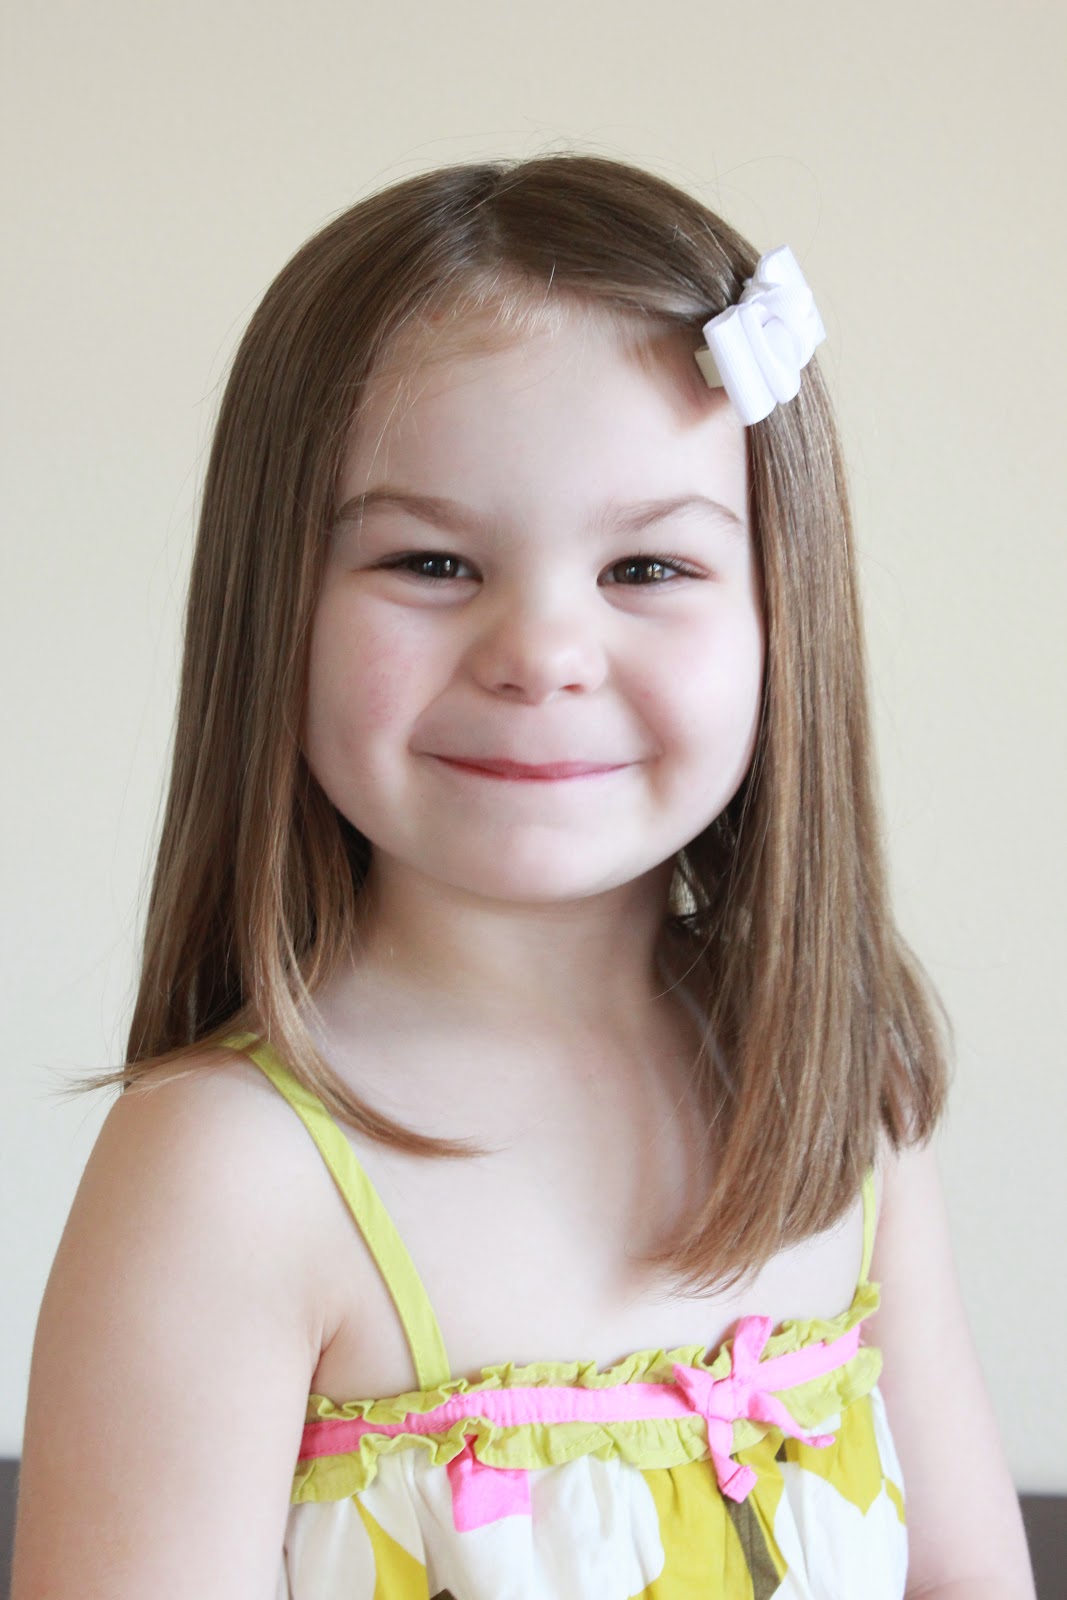
Which reminds me...they don't always have to be smiling. I just love this little face below.

But turn it black and white and I really love it!

And with a little photo shop skills you can switch up the background. I changed this one with one click (paintbucket).

I love to take one with them laying down...and pretend that they are really this sweet and innocents, lol.

Play with the angles. I stood on a chair for this one.


Off center.

And you want to keep them happy. So allow a few silly shots! Afterall itsn't this what she really looks like most of the time?
Yep.

Yep.

Yep.

Seriously. Cadence.

And when we are all done I tell her to pick her own poses....sometimes they turn out super cute!


And just a few final tips. Keep them happy and keep clicking! Saying CHEESE is not always best. If daddy can be around to be silly that GREAT. But often Daddy is working here so I keep the tone light. The whole time I am talking to her, making her giggle, telling her stories, and all around trying to keep her having fun. A real smile is always so much better. Just keep clicking! The beauty of digital cameras is you can take as many and delete as many as you want! Remember trying not to waste those precious rolls of film? Then getting them back and half the roll is of your finger anyway. lol.
And since your at home on your own time, if you don't get some good ones......try again another day! Nothing waisted, experience gained.
Ready to give it a try?
I really love my other kids too haha. ...I'll share some of my favorite pictures I've taken of the kids. Diggin out these was so much fun.
Miley an Bailey a few weeks old.

OMG if you don't know these two...this pretty much sums it up! Love it.

Bailey Boo.


Miley Moo.


Start clickin :)
