Gather your bow making supplies again. This time you won't need your ruler but you will need a small piece of cardboard.
 I have a system of bow tools that I use for many bows, I will share that later. For now here's a little trick to help you out. Use a piece of cardboard from something around the house. I used the cardboard ric rac comes wrapped around. Cut the cardboard to a width you would like your bow to be and make it a little shorter or just as tall, then cut a slit up the center just passed the middle. My piece is 2.5in tall and 3in wide.
 For the ribbon in this bow I am usnig a 5/8 white ribbon and a 7/8 polka dot for the bow.
Now onto making a bow! Step 1: lay the ribbon out then lay the card over it, most bow makers will tell you to cut the ribbon a certain length. I like to work right off the spool when I can. It uses the least amount or ribbon and allows for adjustments.
 Step 2: wrap the ribbon end across the cardboard to the bottom right hand side, clip to keep in place.
 Step 3: Now lay the other end of the ribbon across the bottom left hand side, cut the ribbon and then clip to hold in place.
 Step 4: Take your needle and thread and make one or two stitches in the center of the bow. The slit will allow you to sew with the cardboard.
 Step 5: When you get to the top of the slit slide the bow off hold it like this. Then finish stiching up the bow. Try to keep the stitches even.
 Step 6: Slowly pull the thread down and the ribbon up until you get a nice gather.
 Your bow should look like this!
 Step 7: Cut and heat seal the ends. I cut them in a simple angle but you could use a V cut also. Remember to just pass the ribbon close to the flame.
 Step 8: Apply a small dot of glue on the back of your bow then attach the ribbon. Then wrap the ribbon around the bow and apply glue. Cut the excess.
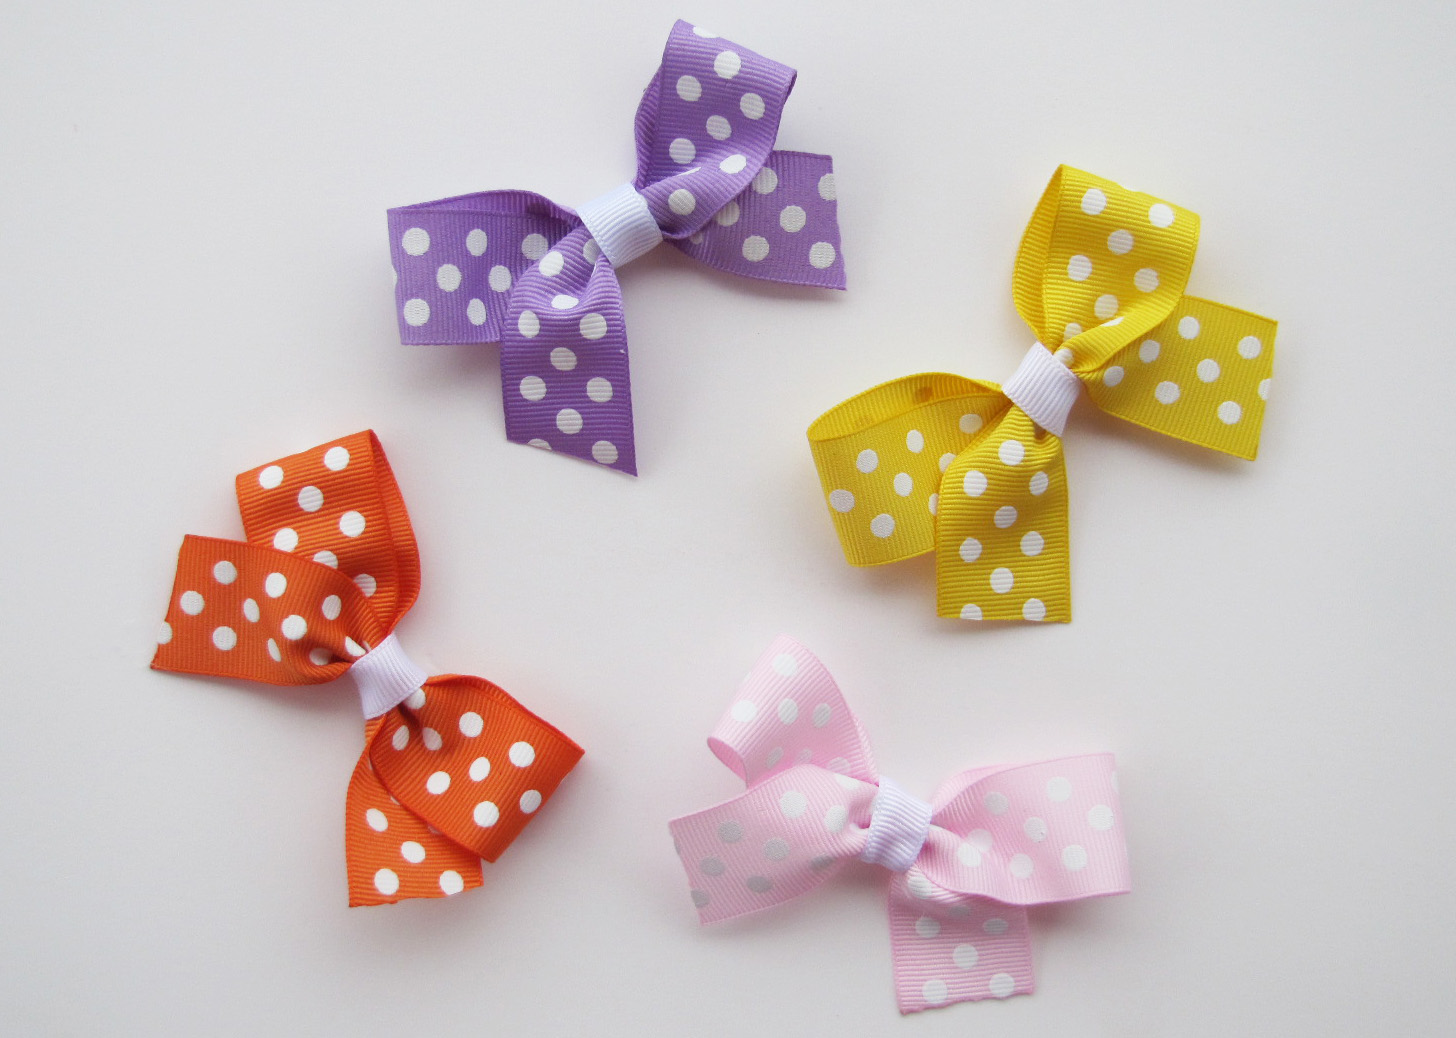
 And there you go! I a simple tails down bow...no tieing involved.
 Step 1: lay the ribbon out then lay the card over it, most bow makers will tell you to cut the ribbon a certain length. I like to work right off the spool when I can. It uses the least amount or ribbon and allows for adjustments. Step 2: wrap the ribbon end across the cardboard to the bottom right hand side, clip to keep in place. Step 3: Now lay the other end of the ribbon across the bottom left hand side, cut the ribbon and then clip to hold in place.Step 4: Take your needle and thread and make one or two stitches in the center of the bow. The slit will allow you to sew with the cardboard.
 Step 5: When you get to the top of the slit slide the bow off hold it like this. Then finish stiching up the bow. Try to keep the stitches even.
 Step 6: Slowly pull the thread down and the ribbon up until you get a nice gather.
 Your bow should look like this!
 Step 7: Cut and heat seal the ends. I cut them in a simple angle but you could use a V cut also. Remember to just pass the ribbon close to the flame.
 Step 8: Apply a small dot of glue on the back of your bow then attach the ribbon. Then wrap the ribbon around the bow and apply glue. Cut the excess.
 And there you go! I a simple tails down bow...no tieing involved.
Theres is so much you can do with this bow!
 Here's a bow I made for Cadence's ballet class.
 Add a double layer for a cool look.

 Here's a bow I made for Cadence's ballet class.
 Add a double layer for a cool look.